Today we’re bringing you another maintenance guide as part of our machine maintenance series. We’ve covered the 7 signs you need to change your brakes. But what about actually servicing your brakes?
Let’s face it—UTVs and ATVs can be tough to maintain, and while taking them to a dealer for service is fine, it can get expensive depending on your riding habits and the parts you choose.
Have you thought about servicing your rig yourself? Learning how to bleed ATV brakes or how to bleed UTV brakes can save you time and money. It’ll also get you back on the trail faster.
Today’s guide will help you to do just that. We’re going to review methods for bleeding ATV and UTV brakes, so you can decide which is right for you.
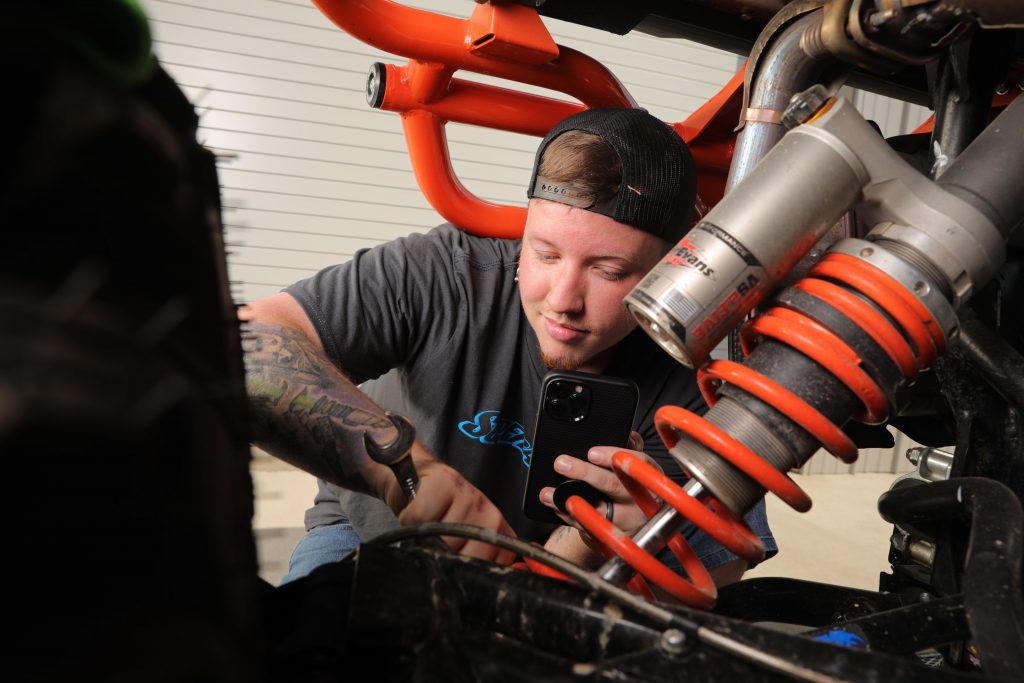
Your UTV brake system is something that needs to be checked every time you get your machine serviced. Photo by SuperATV
How Hydraulic Brake Systems Work
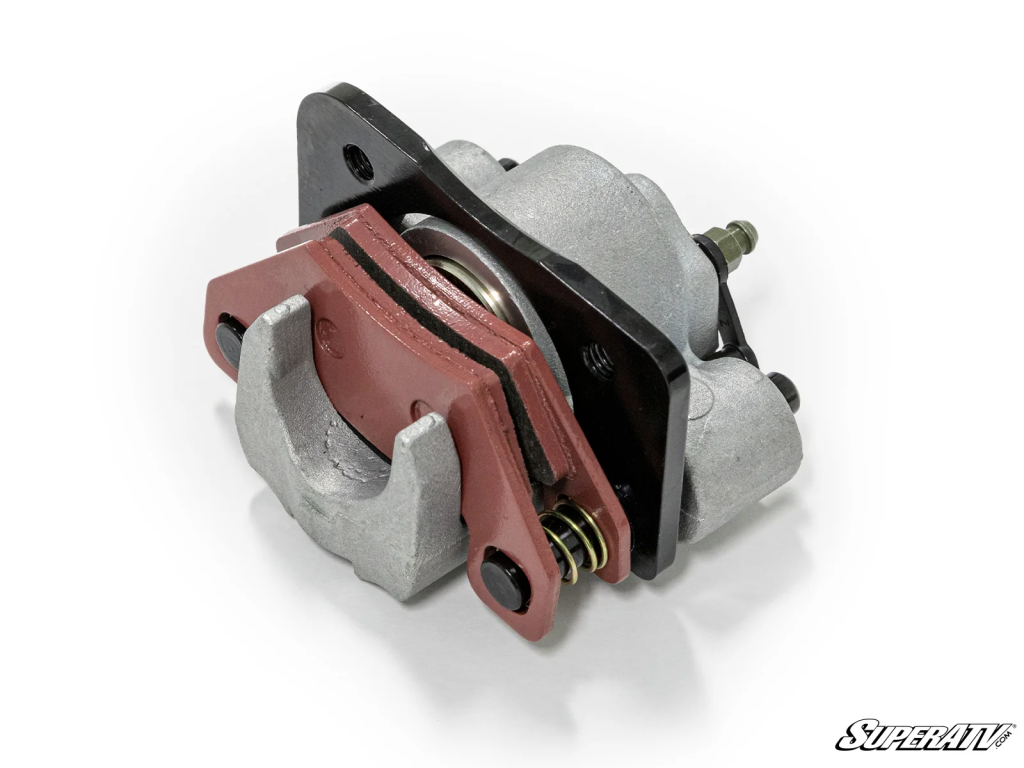
Hydraulic brake systems use brake fluid to transfer energy from the brake pedals to the brake calipers. There’s a piston inside the caliper that activates after the brake fluid puts pressure on it. Once the brake fluid puts pressure on the piston, the piston will then push against the brake pad which forces against the brake disc creating friction and making your wheels stop.
If your machine takes longer to stop, you notice a leak, or you’ve just replaced your pads—it’s time to bleed your brakes.
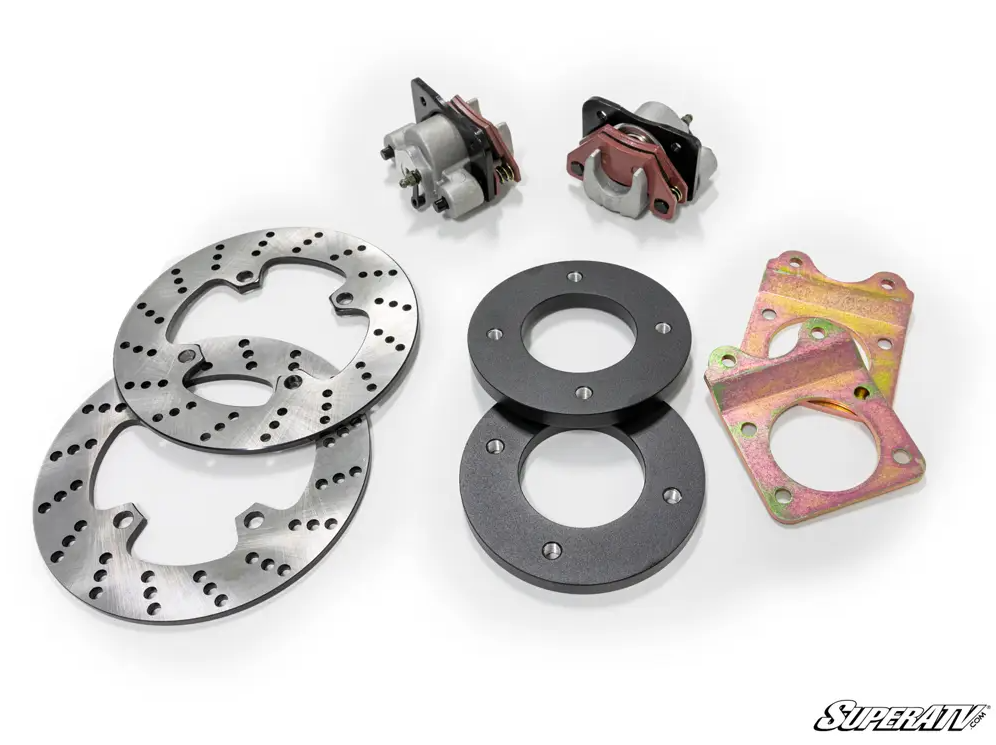
While you’re at it, check your pads and rotors for wear and tear. If they’re looking thin it might be time to upgrade to SuperATV’s brakes for longer-lasting power. Not sure how to decide? Check out our What Are the Worst and Best UTV Brake Pads article.
What Does it Mean to Bleed Your Brakes?
Bleeding your brakes means removing old brake fluid and releasing trapped air bubbles inside of your brake lines. Air pockets reduce braking efficiency and create that dreaded spongy break feel.
Common causes of air entering your brake systems include:
Replacing or topping off brake fluid
Leaks or loose fittings
Worn seals or brake components
Ignoring spongy breaks can be very dangerous. It’ll increase your stopping distance. Sometimes, in severe cases, your brakes can fail entirely.
The manual method is the most common for bleeding ATV or UTV brakes. That being said—it is slower than using a vacuum bleeder, not that that’s a huge deal.
Tools and Parts Needed:
A jack
A socket
Small impact driver
8 mm wrench
A clamp
Brake fluid—you’ll want to double-check the manufacturer’s requirements.
A bucket to collect old brake fluid
Here’s a pro tip—while bleeding your brakes, inspect your brake pads and rotors. If they’re worn, replace them with SuperATV brake parts.
Step-By-Step
Lift the vehicle. Use a jack to raise your rig securely so you can access the wheels underneath. Make sure it’s stable before continuing.
Remove the wheels. Use your wheel nut tool to take the wheels off and set them safely aside.
Access the brake fluid reservoir. Locate the reservoir and remove the cap. If the screws are stubborn, lightly tap your small impact driver to help loosen them.
Clean the reservoir components. Wipe the cap and rubber diaphragm clean before refilling.
Top up the brake fluid. Fill the reservoir to the “MAX” mark using the correct type of brake fluid (check your owner’s manual).
Pressurize the brakes. Pump the brake lever or pedal 3–4 times to build pressure. Use a clamp or zip tie to keep the brake lever or pedal depressed.
Open the bleeder valve. Attach a clear hose to the bleeder valve on the caliper and place the other end in a bucket. Using an 8 mm wrench, slowly open the valve to let the fluid and air escape.
Close the bleeder valve. As soon as the brake lever or pedal reaches about 80% of its travel, close the valve tightly to prevent air from re-entering.
Repeat the process. Repeat steps 6–8 until only clean, bubble-free fluid comes out of the hose.
Move to the next wheel. Repeat steps 1–9 for all four brakes, starting from the wheel farthest from the reservoir and working your way closer.
Top off the reservoir. Refill the reservoir to the maximum level again.
Reassemble. Reinstall the rubber diaphragm and cap securely, then put your wheels back on and lower the vehicle.
Test the brakes. Before riding, test the brake lever or pedal to ensure it feels firm and responsive.
Drawbacks of the Standard Manual Method
Manual bleeding can be a time consuming task. Often times it’s a two person job. You need one person to pump the pedal and the other to open and close the bleeder valve. The process can take several time to push air out. This is because UTV and ATV master cylinders are smaller than the ones in cars.
If the brakes still feel softer after a few attempts, it might not be your technique. It could possibly be worn or leaking brake parts. This is the time to consider upgrading to SuperATV brake calipers and pads to help restore performance.
Air is lighter than brake fluid—therefore the air will want to go in the opposite direction of the bleeding valve. Gravity is not your friend here. Photo by SuperATV
Vacuum Method to Bleeding Your Brakes
The vacuum method is a quicker, more efficient way to bleed your breaks. It’s the perfect option for riders who do frequent maintenance or want to ensure they completely flush the system.
Tools and Parts Needed:
A jack
A socket
Small impact driver
8 mm wrench
A clamp
Brake fluid—you’ll want to double-check the manufacturer’s requirements.
A bucket to collect old brake fluid
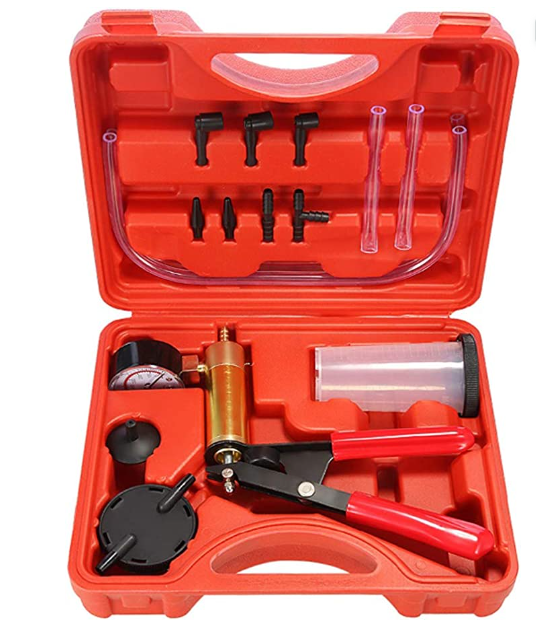
Hydraulic brake bleeder tool
Here’s a tip: When you’re using a vacuum bleeder method, it’s the perfect time to check your pads and rotors. If they’re worn or warped, the best thing you can do is replace them with SuperATV’s brakes for smoother stopping.
Any brake bleeder kit will work. They’re pretty low cost and you can get them from any store that sells automotive parts. Photo by Beduan
Step-By-Step
Lift the vehicle. Use a jack to raise your rig securely so you can access the brake calipers underneath. Make sure the machine is stable before working.
Remove the wheels. Use your wheel nut tool to take off the wheels and set them safely aside.
Access the brake fluid reservoir. Locate the reservoir and remove the cap. If the screws are tight, gently tap your small impact driver to loosen them.
Clean the components. Wipe the reservoir cap and rubber diaphragm thoroughly to prevent contamination.
Connect the vacuum pump. Attach the vacuum pump’s hose to the bleeder valve on the caliper. Place the pump’s fluid collection container securely nearby.
Start the vacuum process. Activate the vacuum pump, then open the bleeder valve halfway to let brake fluid and air bubbles flow into the collection container.
Monitor fluid levels. Keep an eye on the brake fluid reservoir. If the level drops near the minimum mark, close the bleeder valve, stop the pump, and refill the reservoir to prevent air from entering the system.
Continue bleeding. Repeat the vacuuming process until you see a steady stream of clear, bubble-free brake fluid in the hose.
Seal the system. Once the fluid runs clear, tighten the bleeder valve securely and turn off the vacuum pump.
Disconnect the equipment. Remove the vacuum pump hose from the bleeder valve and clean any spilled fluid.
Repeat for all brakes. Repeat steps 1–10 for each brake line, starting with the caliper farthest from the reservoir and working closer.
Top off the reservoir. Fill the brake fluid reservoir to the maximum level.
Reinstall the cap. Replace the rubber diaphragm and reservoir cap securely.
Test your brakes. Before riding, pump the brake lever or pedal a few times to ensure firm pressure and consistent response.
Risks of Not Bleeding ATV or UTV Brakes
Failing to bleed your brakes allows moisture to build up in your brake fluid. This is what happens when water builds up.
Stopping distance increases
The brake lever or pedal feels spongy
Rust can from on your rotors and calipers
Your brakes can completely fail
If you’ve bled your brakes and still have poor performance, it’s probably time to completely replace your brakes. Checkout SuperATV’s brake kits and accessories to get back reliable stopping power.
Bring a SuperATV Expert into Your Garage
We get it, there’s a lot to maintaining your ride, and some parts are harder to service than others. That’s why we let you bring a mechanic right to your garage. Check out our virtual mechanic by appointment—all you have to do is select your appointment time, provide some information, and wait for us to call you.
If you’re ready to take your maintenance to the next level, it’s time to check out SuperATV’s UTV and ATV brake parts. They’ll keep your ride safe and ready for anything.