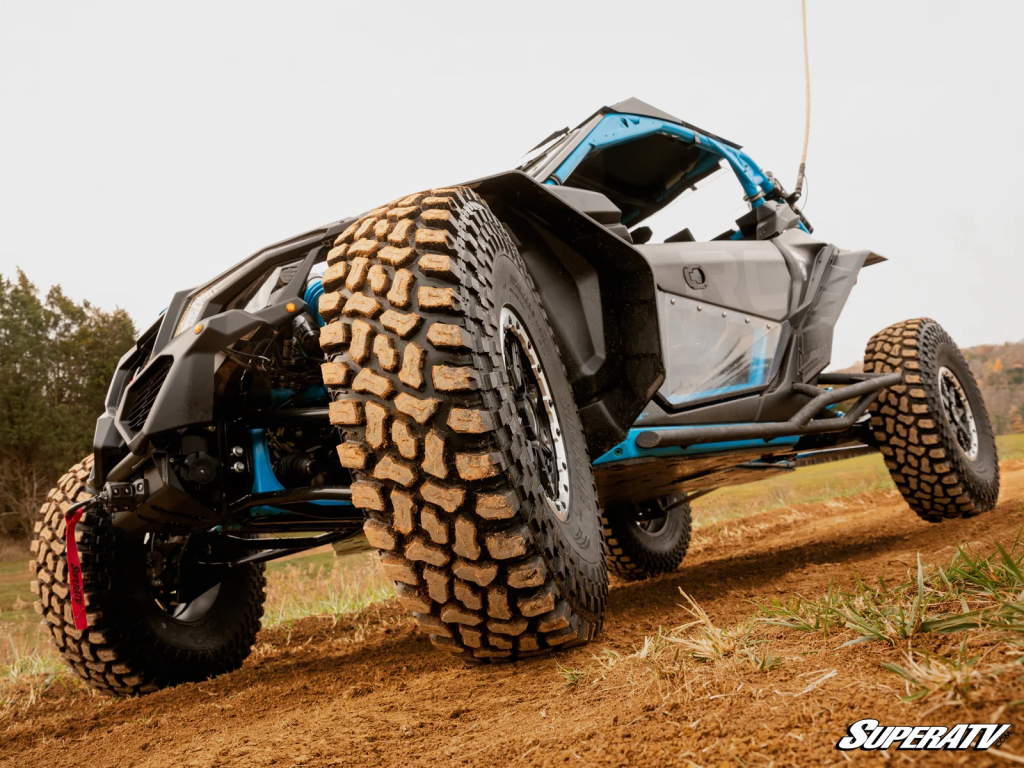
Upgrading your tires and wheels is an event. When you finally find the perfect tread pattern and tire size to maximize your ATV’s or UTV’s performance, putting them on your machine is like Christmas morning.
Except there’s one problem: you don’t know how to mount and balance your tires. Now you have to wait for the dealer to open on Monday and miss a whole weekend of riding.
Or, you could skip the middleman and do it yourself. It’s not too difficult.
When you know how to install and balance UTV and ATV tires, you’ll save some dough and get fixed up in time for the weekend.
All it takes to get your UTV or ATV tires mounted and installed is the right tools, a little elbow grease, and some old-fashioned know-how.
It makes a big difference too. Properly balanced tires enhance handling, reduce vibration, and extend tire life, whether you’re a casual or extreme rider.
Let’s go through every step for mounting and balancing tires, starting with the tools you need to gather.
There are a few essential tools you need to get started. You probably have some of these tools already, like a tire iron and air compressor, but you might need to make a trip to the hardware or auto parts store for the rest.
Tools needed:
Of course, you’ll also need a killer set of new tires that will take your ATV or UTV to new heights. Check out all of SuperATV’s tires if you want the best off-road tires in the industry.
First, you need to jack up your machine on flat, level ground and remove your wheels by removing the lug nuts.
Next, detach your compressor hose from the compressor, and lock it to the valve stem to deflate your tires quickly.
Once you’ve bled off enough air, wedge your bead breaker too between the tire sidewall and the wheel lip. Apply leverage to push the bead down. Work your way around the wheel until the tire drops off the wheel.
ATV tires are relatively easy to break the bead on. You might be able to break the bead with your bodyweight or a manual bead breaker.
UTV tires are a lot stiffer and take more work. You can use soapy water or tire lube to help get your bead breaker tool in place. A screw-type or hydraulic bead breaker is almost certainly required to get it done.
And remember: compressed air (like in a tire) can jump out and get you when you least expect it. Be sure to wear safety glasses and release the air in a safe and controlled way.
Before you start muscling rubber onto metal, take a minute to look over your new tires. Check for any obvious defects from shipping and confirm the size matches what you ordered. It’s also critical to verify tread direction. Many ATV and UTV tires are directional, and mounting one backward means less traction and faster wear.
Once you’ve confirmed everything looks good, you need to lube up the bead. Tire lube works best, but a mild mix of dish soap and water will do in a pinch. Lubrication reduces friction, makes mounting easier, and helps prevent bead damage—especially on stiff UTV tires.
Set the tire on a stable, flat surface, like the floor. You can put a piece of cardboard down to help prevent scratches.
This is also when you need to make sure the tread direction matches the rotation of this specific wheel when it’s installed on your machine. While you’re at it, inspect the wheel and tire one last time for dirt, rocks, or burrs that could interfere with proper sealing.
Apply tire lubricant or soapy water to both beads and the rim edge. Don’t be stingy here—a well-lubricated rim and bead make everything else easier.
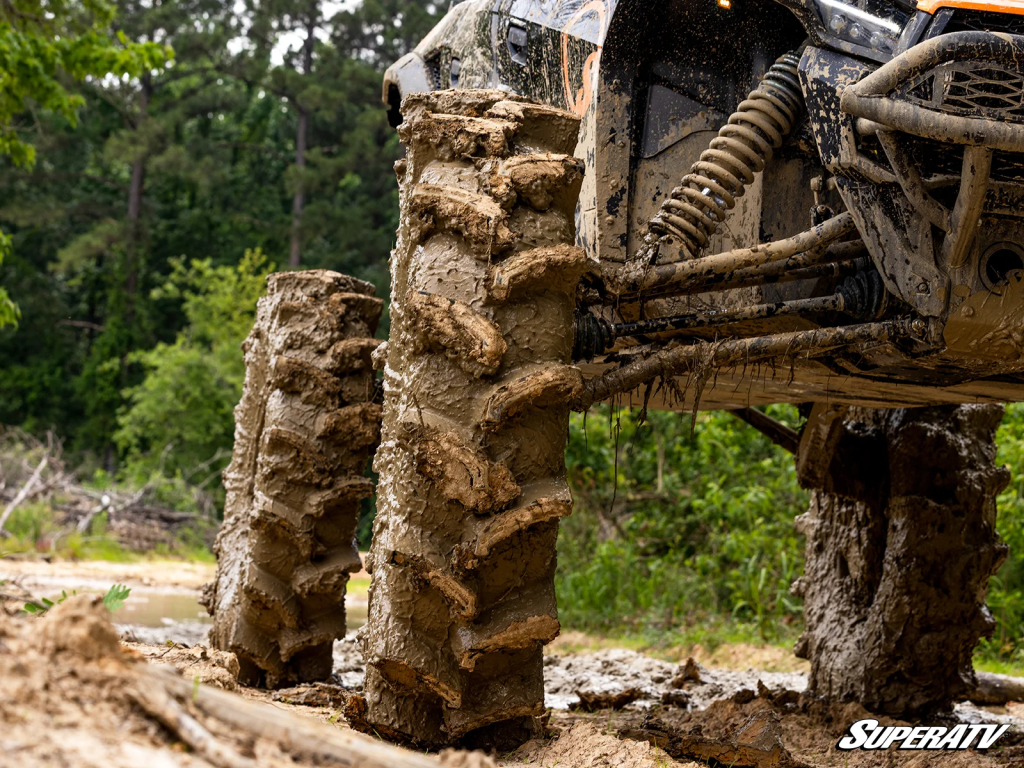
Put the wheel on the wheel with the backside of the wheel facing up. This is when you’ll need to use your tire iron or spoon to get the tire bead over the lip. Both beads should be past the top lip at this point.
Now, flip the wheel and tire over.
Use your body weight to push the bead over the wheel’s front lip. You’ll need to use your tire iron or tire spoon to get this bead over, but the more you can do with your weight, the easier. Work your way slowly around the rim until the bead is below the lip.
If things start to bind up, stop and add more lubricant. Fighting dry rubber is a good way to tear a bead or wreck your rim.
With the tire mounted, it’s time to add air. Inflate gradually until you hear both beads pop into place along the rim. Stand clear of the sidewalls during this step and never exceed the tire manufacturer’s maximum PSI.
After the beads are seated, deflate the tire slightly and reinflate to the recommended pressure for your specific tire and riding style. Inspect both sides to make sure the beads are evenly seated, and check for leaks or bulges before moving on.
Keep in mind that UTV tires usually need more air volume than ATV tires. Some setups may require a bead seater or high-flow air source to get everything locked in properly.
Balancing is what separates a quick install from a professional one. Place the wheel on a balancing stand and let it settle naturally. The heaviest spot will rotate to the bottom.
Add stick-on or clip-on wheel weights opposite the heavy spot, then spin the wheel again. Repeat the process until the wheel stays put no matter where you stop it.
Balanced tires reduce vibration, improve handling, and extend tread life—especially with aggressive designs like SuperATV’s Terminator or Cliffhanger tires, where imbalance can be more noticeable at speed.
Keep in mind that it’s significantly easier to balance tires with tight lug patterns, like an all-terrain or road tire, than it is to balance an aggressive mud tire. When dealing with extremely aggressive tires like Assassinator tires, balancing is recommended, but it’s not necessary (or even possible) to get it perfect.
Reinstall the wheels on your machine and tighten the lug nuts in a star pattern to ensure even pressure. Torque everything to the manufacturer’s specifications. If you want a detailed walkthrough, check out our How to Mount Wheels guide.
Once everything’s back together, take a short test ride. Pay attention to vibration, noise, or pulling to one side. Afterward, inspect the tires again to make sure there are no leaks or uneven seating before you head out for a full day on the trail.
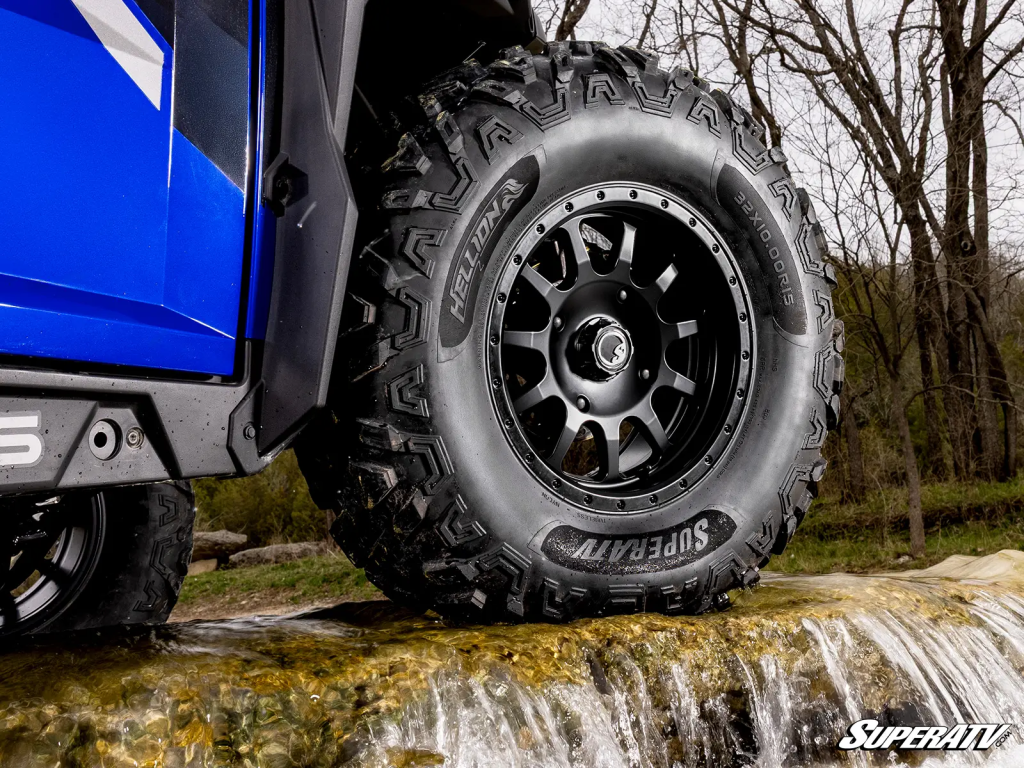
Well-mounted and properly balanced tires make a real difference. You’ll get better traction, smoother handling, and longer tire life across every kind of terrain you ride.
If you’re ready to upgrade, check out all of SuperATV’s awesome ATV and UTV tires. We’ve got everything from industry-leading mud tires like our Assassinators to killer all-terrain tires like our Incursion tires. Get a set today and build an ATV or UTV that can take you wherever the trail leads.

