How can I tell if it’s time for a UTV or ATV drive belt replacement? How does a side-by-side drive belt work? What’s the best UTV drive belt? If you’re searching for answers to these questions or just trying to learn more about UTV or ATV drive belts, you’ve come to the right place. Consider this your handy guide to everything side-by-side and four-wheeler CVT drive belts.
Drive belts transfer power from the engine to the transmission. Most UTVs and many ATVs use a CVT, which stands for Continuously Variable Transmission. That means a side-by-side has an infinite number of gear ratios available for every situation. Without the belt, the CVT wouldn’t work at all—that’s why they’re so important!
You’ll find the drive belt in the CVT behind the clutch cover, inside the clutch housing, looped around the sheaves of the primary and secondary clutches. UTV and ATV drive belts are generally made from black rubber or rubber-like compounds surrounding aramid cords.
When you put your foot on the gas, the primary clutch squeezes the drive belt. The higher the RPM, the harder the belt is squeezed. That squeeze pulls the belt, which turns the driven clutch. Those combined actions transfer power to the transmission which moves the vehicle. Obviously, there are a lot of other complicated processes involved in moving the vehicle, but we won’t get into that here. The main thing that you need to know is that drive belts get beat up a lot through normal, day-to-day use.
They may not look like much, but without a drive belt, your UTV couldn’t move. Image by SuperATV
Causes of Wear and Tear
Drive belts are considered a wear-and-tear item, just like brakes or tires. Since the belt is engaged every time you put your foot on the gas, you can imagine how much damage can happen over time. You’re going to have to replace the belt eventually, but certain environmental factors or riding styles may have you replacing belts more often. While you can’t avoid replacing belts, you can work to extend their longevity.
There’s no way to know exactly how long your belt will last, but here’s a few indicators that your belt may have a shorter lifespan:
Rough riding: Going hard on the trail will wear your belt out faster—but that’s kind of the point, isn’t it? Maybe just back your foot off the gas occasionally, Mr. Andretti.
Environment: Exposure to dirt, dust, water, and mud makes the belt slip when you need power. Clean the interior of the clutch housing regularly with an air compressor or canned air to prevent this type of wear.
Weight: Modifications that add weight to your machine (big tires, lift kits, portals, etc.) can cause additional strain on the belt since it has to move more mass.
Clutch alignment: If your clutch is out of alignment, it can cause uneven wear on the belt. Eventually, that will make it slip more often and break down faster.
Heat: Extreme temperatures are a drive belt’s worst enemy. Tears, warping, stretching—high temps do awful things to belts. Repeated exposure to heat from the environment or stressful driving will destroy the belt in no time.
Big builds are super fun, but did you know they can put more stress on your UTV drive belt? If you want a big lift, you’re going to want to upgrade your belt. Image by SuperATV
How to Inspect Your UTV or ATV Drive Belt at Home
There are two pretty obvious ways to know when your belt is toast. First is the smell: burnt rubber. The second is a “thunk-ka-thunk” sound from down below. At that point, you know for sure something is messed up—especially if you get the nasty burnt rubber stink and then the horrible clunky sound right after.
Some riders replace their belts on a tight schedule, like every 1,000 miles or so. Getting yourself on a schedule gives you more control over when and where you replace your belt. Pretty much anybody would rather replace a belt in their garage than on a muddy trail!
If you want to check it for signs of wear or damage, here’s how to inspect your UTV/ATV drive belt:
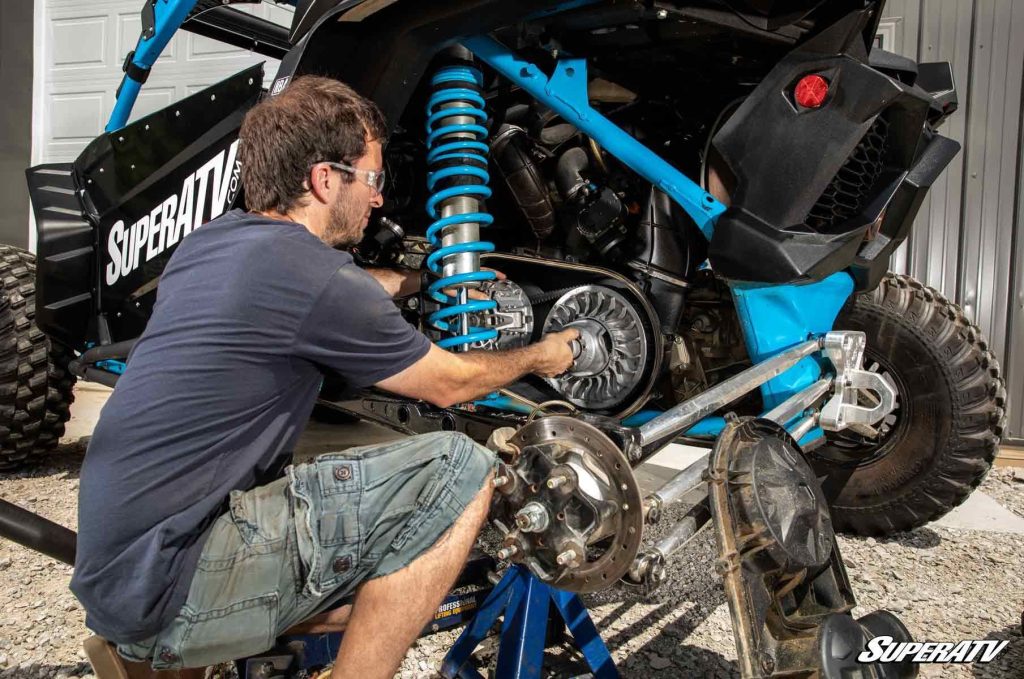
First, locate the clutch housing. The clutch housing is generally on the bottom of the machine near the engine and transmission. The location differs from model to model, but it’s typically on the driver side of most side-by-sides (but sometimes it’s hidden under the seat or some other inconvenient spot). You may need to remove some body panels depending on your machine. Pro tip: Many experienced technicians recommend removing the rear driver’s side tire and detaching the bottom shock bolt and pushing the shock forward. This makes accessing the clutch much, much easier.
Remove the air duct or snorkel hose. Most UTVs and ATVs will have an air duct connected to the clutch cover. You’ll need to disconnect this before you can remove the clutch cover. Be patient, because these air ducts can be a real PITA to get loose.
Remove the clutch cover. Remove any screws or bolts that may be securing the clutch cover and put them in a safe place. It may take some wiggling, but it will come loose. Pro tip: Some newer machines like the 2024 Polaris RZR XP 1000 and Polaris Xpedition have bolts/screws that don’t come all the way out of the cover when you loosen them. Now that’s convenient!
Once you’ve got the clutch cover off, the first thing you need to do is inspect the gasket that goes around the clutch case. If the gasket is loose or seated poorly, you’ll want to correct that. You don’t want moisture or debris getting into the clutch case and ruining your belt or damaging the clutches.
Inspect the UTV or ATV drive belt for damage. Near the secondary clutch (the bigger one), grab the belt and pull it towards you to get it started running off the side. Then use your hand to turn the secondary clutch counterclockwise. The belt will eventually work itself off and you can inspect it. You’re looking for thinning (a sign of wear/high mileage), burnt spots (signs of working the clutch too hard/overheating), glazing (shiny, smooth spots on the side of the belt), missing teeth, cracks in the teeth, loose fibers, or anything else that seems out of place. Pro tip: Depending on your model, you may have to loosen the sheaves before you can remove the drive belt.
Make sure you clean out the clutch housing. Wipe your clutches down with a clean, lint-free cloth and inspect the clutches for any signs of damage or imperfections, like grooves, divots, or knicks. If your clutch is damaged, it’s going to keep tearing up belts. Make sure you check your skid plate, air ducts, and engine for little bits that may have traveled. You want to get all that junk out before you replace the belt. Pro tip: Canned air can be a great tool for blowing out bits of debris, dust, and mysterious chunks of old belt from the clutch housing—just be sure to wear a painter’s mask and eye protection so you don’t breathe it in or get it in your eyes.
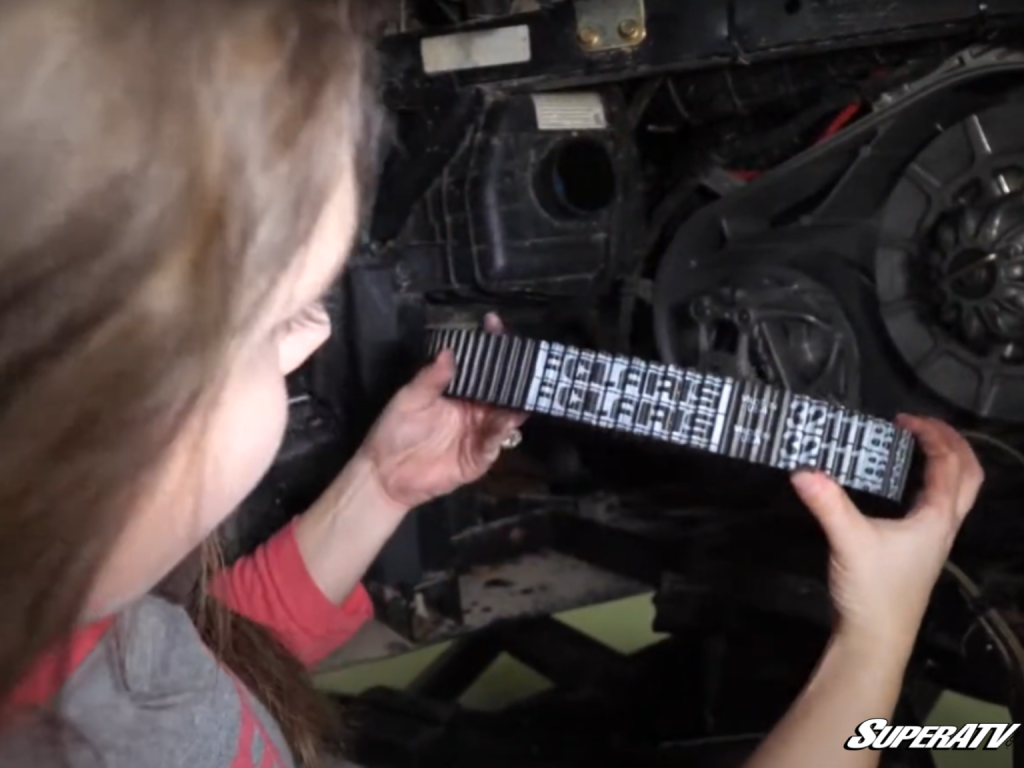
Before you install the belt, be sure to clean your belt thoroughly. Wash it down with hot, soapy water and make sure it’s fully dry before you reinstall/install it. A clean belt grips better and is less likely to slip.
Almost every belt will have writing that tells you which direction to install it. Image by SuperATV
Once everything is all slick and shiny, you’re good to install or reinstall your belt. Make sure the belt is seated properly and has the writing pointed the correct direction. Then spin the secondary clutch to tighten the belt down. Then you’ll reinstall all the parts you removed and break in your new UTV or ATV drive belt. Pro tip: A good rule of thumb is to make sure that the upper ribs of the belt are even with the top of the sheaves after tightening.
It’s not as complicated to replace a UTV drive belt as you might think, but it’s definitely a job we prefer to do at home and not on the trail. Image by SuperATV
Selecting the Right Drive Belt Replacement
When you tear that OEM belt to shreds, do yourself a favor—upgrade to a GBoost belt. They’re made with ultra-strong aramid fiber cords to prevent separation. They’re also highly heat resistant, flexible, and strong enough to put up with more abuse than OEM.
They come in five flavors to suit any rider’s needs:
Sand Storm: If you love dunes and sand, this is the belt for you. Superior heat dispersion protects this belt from deterioration even in desert conditions.
Mud Monster: This belt is built for mud addicts. If you’re crawling low and slow to power through the bog, this belt has the grip to keep you rolling.
Rock & Trail: This belt is designed to handle crawling low and slow with big bursts of torque without overheating. Moab, beware—this belt is made for technical rider.
Extreme Badass: Some riders love to fly in their rigs—this belt can keep up. It was designed to be squeezed harder and handle higher torque without giving out.
World’s Best Belt: If you love all types of terrain, here’s your belt. Its specially-designed rubber compound maintains cord strength for better grip and longer life no matter how you ride.
You can count on GBoost for high-performing, reliable UTV replacement belts every time. They’re made better to keep even the roughest riders on the trail longer. You can’t go wrong with GBoost.
GBoost has the right belt for every rider. They make several different belts so you can choose the right one for you. Image by SuperATV
Now You Know When to Replace Your Drive Belt
When your drive belt starts to slip, don’t wait. It’s not worth a breakdown out on the trail. But if you like flirting with danger, at least consider a UTV Belt Case to keep a spare handy—otherwise you’re going to be stuck waiting for your body to tow your rig home.
When it comes to picking a drive belt, SuperATV has you covered with a wide selection of ATV and UTV drive belts from GBoost. Clutching is smoother than factory belts, they’re less likely to fray, and power transfer is better, along with improved heat dissipation. Advanced rubber compounds provide better grip and less slippage, leading to improved longevity from all GBoost belts compared to OEM. But don’t just take our word for it.
Here’s what GBoost owners say about their drive belts:
Short and to the point—C. tells us like it when it comes to GBoost belts. Image by SuperATV
You couldn’t even pay for content like this! Thanks for the great review, Dennis D. Image by SuperATV
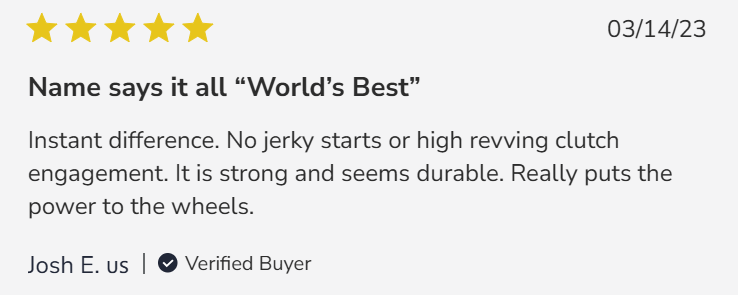
Thanks, Josh. That powerful feeling is exactly what you want from a drive belt. Image by SuperATV
Conner T knows how to pick a belt and how to break it in! Image by SuperATV
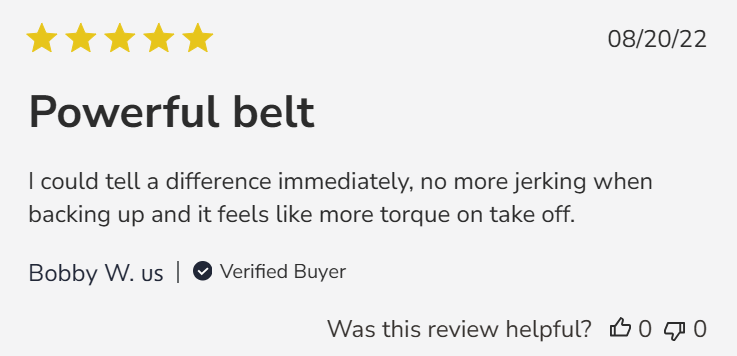
Bobby W. knows exactly what he wants from his machine—and GBoost delivers. Image by SuperATV
Thanks, Tammy! You know the belt’s a good one when they order 3 at a time. Image by SuperATV







2 Comments
Hi Jim from Perth Aus looking for gboost drive belt for kaf 700 mule pro mx se thanks Jim
Hey Jim,
Unfortunately, we don’t offer a drive belt for your machine.