Ball joints are small parts that play a big role in your ATV or UTV’s suspension. Whether you hit the trail hard or cruise the easy route, ball joints can make or break your ride.
In this guide, we’ll delve into the mechanics of ball joints, their importance in ATV and UTV suspension systems, and how to pick the best UTV or ATV ball joints for your ride style.

First off, what is a ball joint? A ball joint is a vital component of a vehicle’s suspension system that connects the control arms to the steering knuckles or axles. It enables smooth movement in multiple directions, allowing the wheels to move up and down while steering. This is true of cars, ATVs, and side-by-sides.
Ball joints play a crucial role in maintaining stability and control, especially during off-road excursions where terrain can be unpredictable.
Worn or damaged ball joints can lead to steering instability, reduced control, and even catastrophic failure—which can bring your joy ride to a stop fast. Many rock crawlers and mud boggers learn this the hard way!
That’s why it’s important to use high-quality ball joints designed for off-road use that can provide durability and reliability in the most demanding conditions.
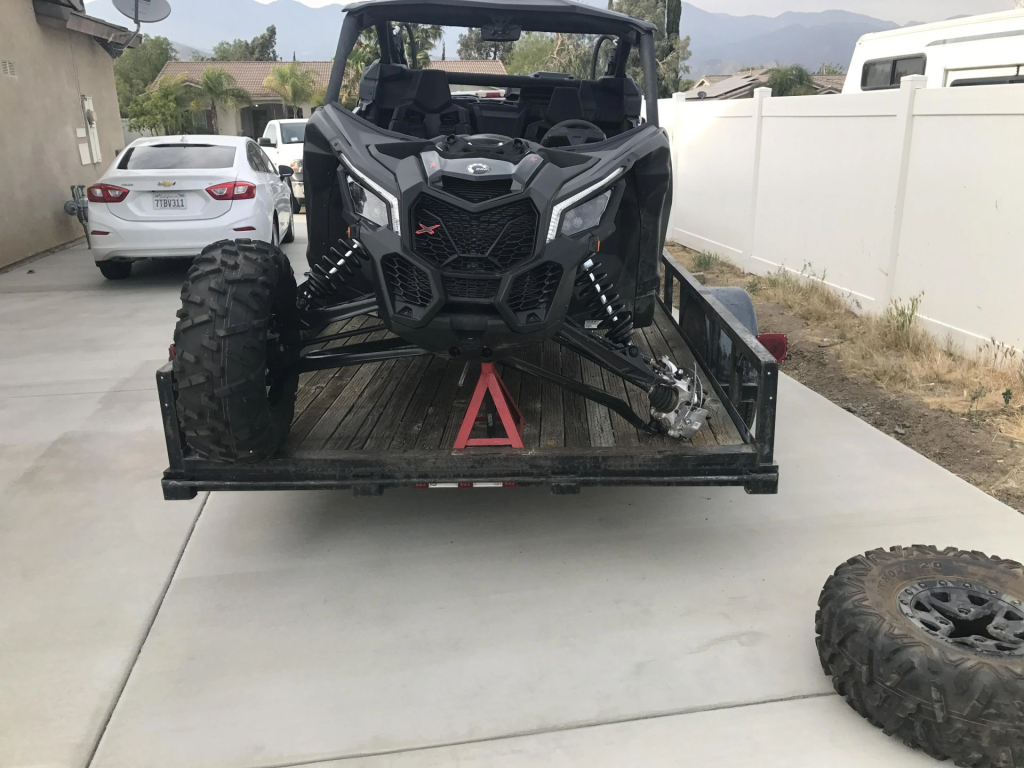
But how does a ball joint work? A ball joint consists of a spherical bearing enclosed in a socket, secured by a threaded stud or bolt. As the suspension moves, the ball joint rotates within the socket, allowing the wheels to respond to road conditions and steering inputs.

Ball joints require regular maintenance—meaning lubrication—to reduce friction and wear. Grease fittings facilitate this maintenance. That’s why all SuperATV ball joints and Keller Ball Joints (more on these later) are equipped with a grease zerk, making them easy to care for and extending their lifespan.

The first signs of a bad ball joint are subtle. If you notice new clunks when you hit a bump or you hear new squeaks coming from your wheels, it’s time to check your ball joints.
Luckily, checking your ball joints is easy.
When you find a bad ball joint, you don’t want to wait to replace it. Get yourself some new ball joints ASAP to avoid major problems on your next ride. A hard bump or a sharp turn could snap your bad ball joint and take your A-arms, brake lines, wheel, and the rest of your suspension with it. And that’s assuming it doesn’t cause a big wreck too.
Check out SuperATV’s ball joints.
So you’ve got bad ball joints and now you need new ones. It might not be obvious, but not all ball joints are created equal, and the one you need might be different from the one your buddy needs.
Here are the key features you need to pay attention to when you’re considering new UTV or ATV ball joints:
Now that you know what kinds of ball joints you can get your hands on, you need to know which of those features matter for your machine and ride style.
You don’t need to find the toughest ball joints on the market and say, “That’s what I need.” It really depends on your ride style and how well your last ball joints held up.
Let’s break down our recommendations based on your ride style.
| What You Have | What You Need |
|---|---|
| A big, heavy side-by-side that’s designed to go low and slow through mud and water. | SuperATV’s Heavy-Duty Ball Joints. They’re made from chromoly steel, which makes them about twice as strong as stock ball joints. They’re greaseable and adjustable, too, so you can keep them functioning properly as the stud loosens, and you can push out mud and water with fresh grease. |
| A high-end, performance-focused machine that you often push to its limits. | Our top-end Super-Duty Ball Joints Joints or Keller Ball Joints. Both of these ball joints are designed for extreme riders and extreme rides. Our Super-Duty Ball Joints are adjustable and greaseable, plus they’re made from 300M alloy steel. They’re as tough as they get. Our Keller Ball Joints eliminate the OEM snap ring and replace it with a thread-on housing that captures your A-arm kind of like a nut and bolt. They’re virtually impossible to pull out and made of chromoly steel for extreme strength throughout. They’re also greaseable and adjustable for long-lasting performance. |
| A side-by-side or quad that’s used for chores and easy recreational riding that has had stock ball joints for five years or longer without issue. | SuperATV’s Standard-Duty Ball Joints. They’re designed to match the OEM design, but they’re a little stronger than stock thanks to the all-chromoly construction. The best part is that they cost a lot less than buying from the manufacturer too. |
The best ball joints for your machine are the ones you’re already using. Here’s how you can keep them in good shape so you don’t have to replace them at all.
You should regularly inspect your ball joints for signs of wear, including excessive play, noise, or visible damage.
Luckily, maintaining ball joints isn’t too complicated—and we make it as easy as possible at SuperATV with our Heavy-Duty, Super-Duty, and Keller Ball Joints. They have a flush zerk built in, so you can pump in fresh grease without tearing everything down.
But when you notice some wear, you probably need to take your ball joint apart, repack your housing with grease, and tighten your stud. Here’s how to get that done on our Heavy-Duty, Super-Duty, Threaded, and Keller Ball Joints.
SuperATV Heavy-Duty 4340 Chromoly, Super-Duty 300M, and Threaded Ball Joints:
Keller Ball Joints:
When ball joints show signs of wear or damage, you should replace them ASAP to maintain vehicle safety and performance. If you need help figuring out if your ball joint is bad, we explain it in our Ball Joint FAQ.

We’ve been over ball joints, ride styles, and maintenance tips. You should be all set to make the right decision for your next ball joint. You don’t just need the toughest, most expensive ball joint, and whether you’re bombing through mud pits or doing chores around the yard, we think you can find the perfect ball joint.
If you need more help finding your perfect ball joint, give us a call at 855-743-3427 or shoot us an email at sales@superatv.com.


2 Comments
Great article. Learned alot.
Thanks for reading, Rick!