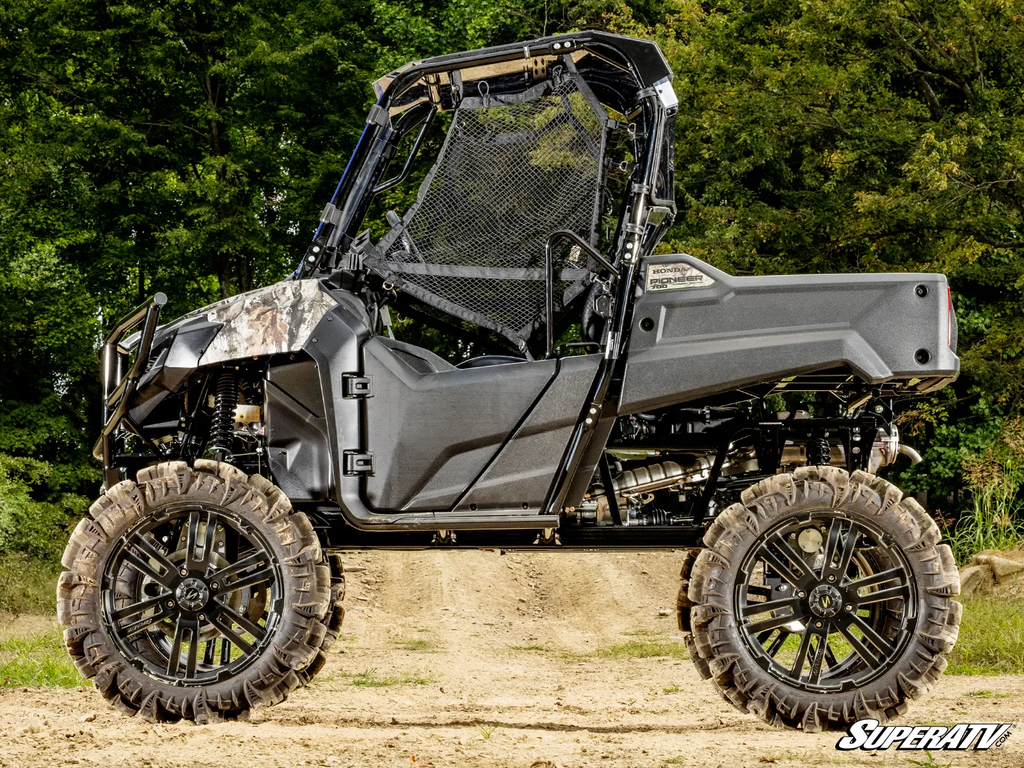
Whether you use your Honda Pioneer for work or play, it’s built to handle a lot. You might spend one day hauling around the farm, then spend the next exploring trails and putting it through mud, rocks, and rough terrain. Either way, your machine gets plenty of use and abuse.
Regular inspections and maintenance can help you catch small issues before they turn into bigger repairs. A few minutes checking over your Pioneer before and after a ride can help keep it running like it should.
Maintenance schedules can vary depending on your model and model year, so always use your specific owner’s manual for service intervals and requirements. Your riding conditions matter, too. Frequent riding in mud, water, sand, or other harsh conditions typically means certain components need attention more often.
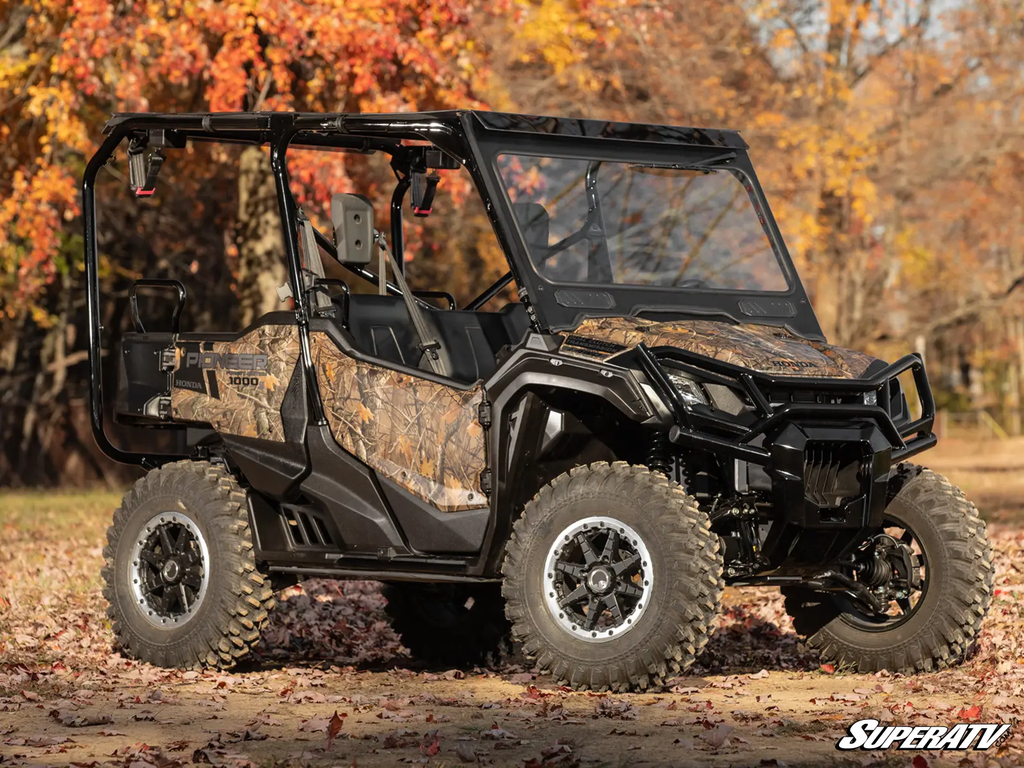
Keeping track of your Pioneer’s maintenance is easier when you know what needs to be done and when. You can use this as a quick reference, but always check your owner’s manual for the exact requirements for your model and year.
Before you ride:
Remember that these service intervals aren’t on a one-size-fits all schedule. The maintenance requirements can change depending on whether you have a Pioneer 700, Pioneer 1000, or another model.
When your owner’s manual gives you a mileage and operating hour interval, whichever comes first is when you should service it. If you’re unsure about an interval or procedure, your model-specific Honda owner’s manual will always be the final word. If you have more questions, you can always check with a Honda dealer.
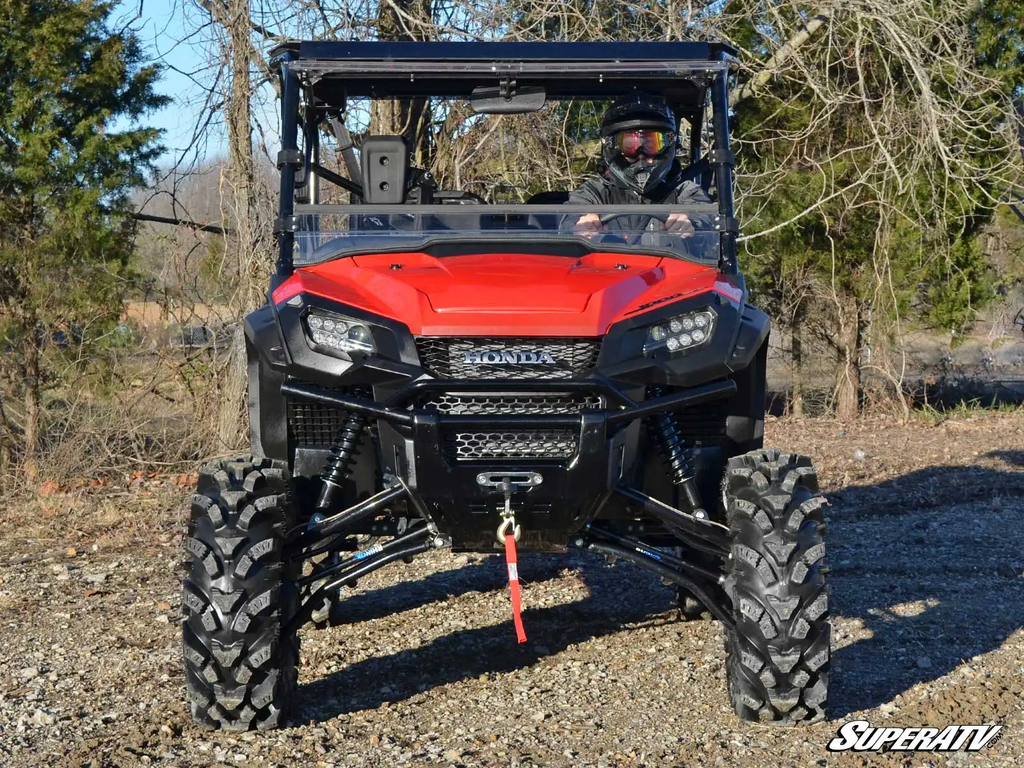
Engine oil is one of the easiest things to check and one of the most important parts of routine maintenance. Make sure you’re using the correct oil for your specific Pioneer, and look around the engine for signs of leaks while you’re at it.
Scheduled service should include changing the engine oil and oil filter at the intervals Honda specifies. Don’t rely on a generic oil-change interval you found for another Pioneer model or year.
Always dispose of used oil properly rather than pouring it down a drain or onto the ground.
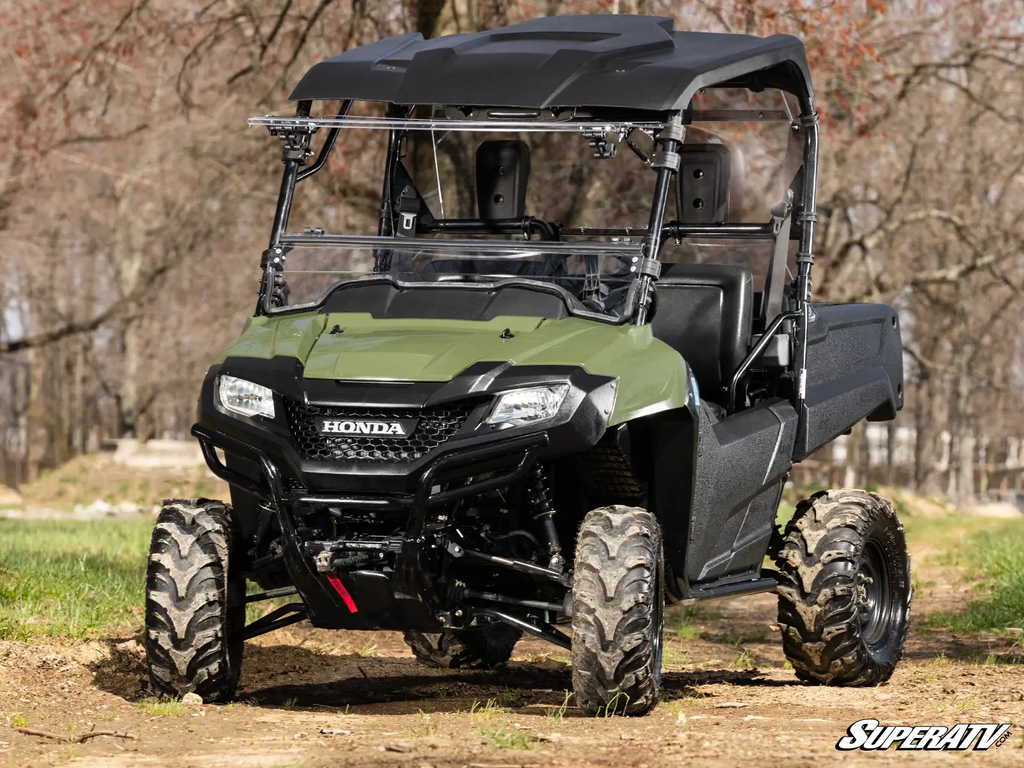
Your air filter has one important job—keeping dirt out of your engine. That’s especially important if you’re riding dusty trails, sandy terrain, or behind a group of machines kicking up dirt.
Check the air filter for dirt, debris, and damage. You want to clean or replace it according to the filter type and instructions for your Pioneer. While you’re in there, inspect the airbox and its sealing surfaces to make sure everything is clean and properly sealed.
You should also check the airbox drain where it’s applicable. It’s worth giving your fuel lines and connections a quick inspection for damage or leaks as well.
Never assume your air filter can go the same amount of time between cleanings every time. Dusty and sandy riding can require more frequent attention than normal conditions.
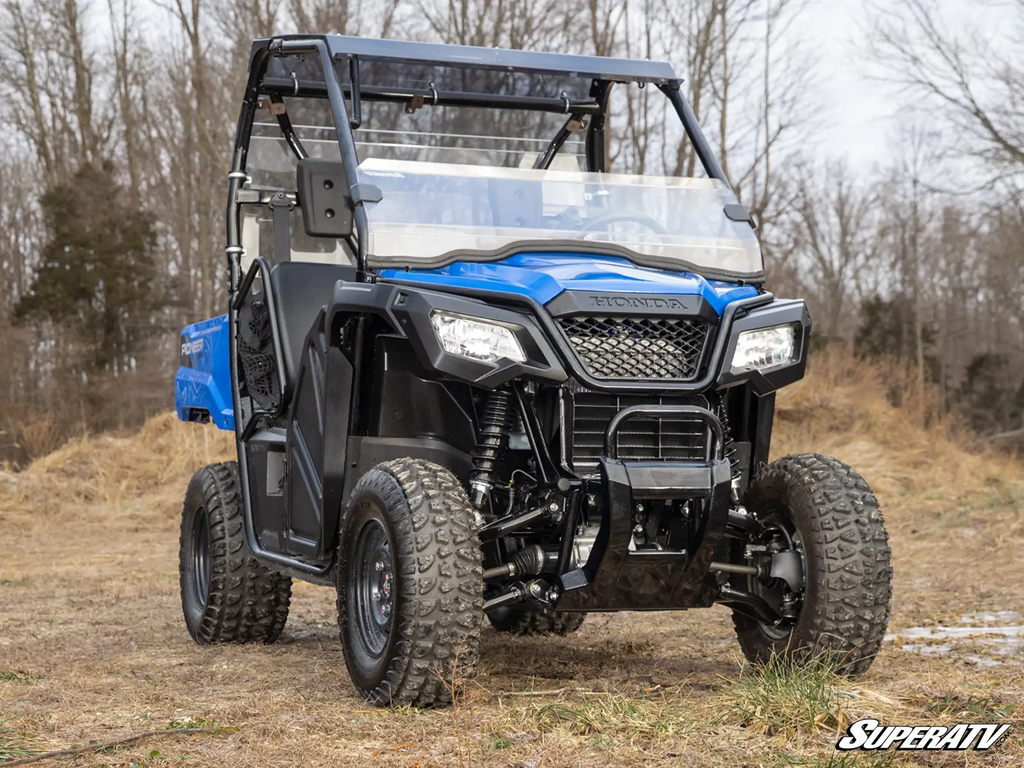
Your Pioneer has more fluids than just engine oil to keep an eye on.
Check the transmission and differential fluid levels and change them according to your owner’s manual. While you’re checking levels, look for leaks around the drivetrain and pay attention to the condition of the fluid.
Water crossings are another reason to inspect these areas closely. If your Pioneer has been through deep water, check for signs of contamination and make sure the appropriate fluids are still in good condition.
On Pioneer 1000 models, don’t lump everything together as “transmission fluid.” Honda specifically lists sub-transmission and DCT-related service as separate maintenance items. If you’ve been pushing your Pioneer hard or riding through rough terrain, take a few extra minutes to look over the driveline for damage or anything that doesn’t look right.
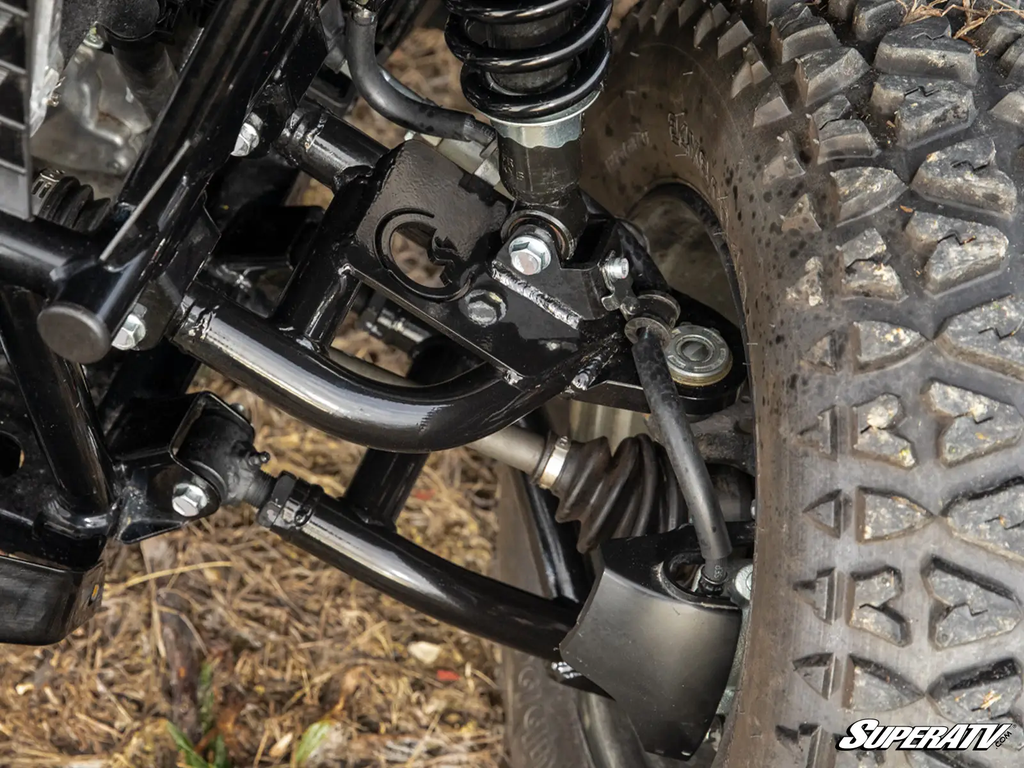
Your brakes, steering, and suspension deserve a close look because problems in any of these areas can affect how your Pioneer handles.
Brakes:
Check your brake pads for wear and inspect the rotors for damage. Look over the brake lines and hoses for signs of leaks, cracking, or other damage.
Always check your brake fluid level and condition according to your owner’s manual. If braking performance feels different than normal, don’t ignore it. A soft pedal, reduced stopping power, or unusual noises are good reasons to investigate before riding again.
Steering and Suspension:
Give your steering and suspension parts an inspection and look for:
Honda’s maintenance guidance includes suspension components, wheels, driveshaft boots, tie-rod ends, steering components, and brake parts among the items that need regular inspection. If something feels loose or doesn’t look right, it’s better to deal with it before it becomes a safety issue.
When it’s time for some replacements or upgrades, head over to SuperATV for all of your suspension needs.
Your tires are your connection to the trail, so check them regularly.
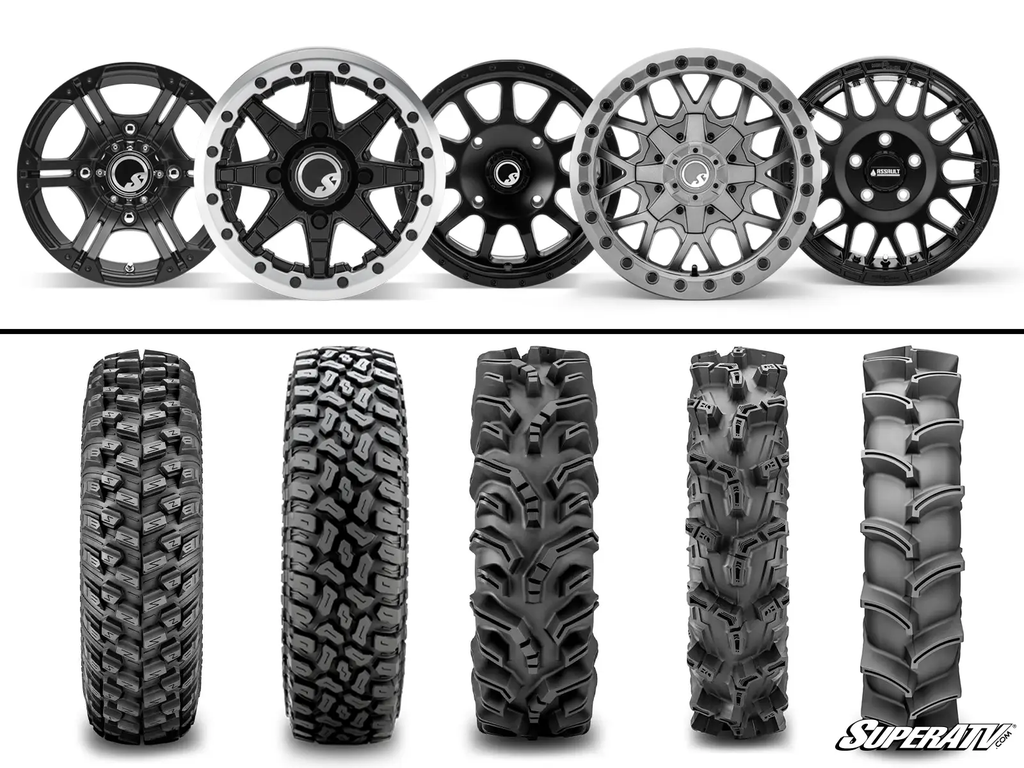
Start with tire pressure. Check it when the tires are cold and use the pressure recommended for your specific Pioneer model. Then you’ll want to look over the tread and sidewalls for cuts, punctures, uneven wear, or other damage. While you’re at it, inspect your wheels for damage and make sure the lug nuts are properly torqued.
Wheel bearings are worth checking periodically as well. When you have your rig safely supported, try moving the wheel back and forth. Noticeable looseness or play will tell you if a bearing or other component needs attention.
Looking to upgrade your tires? SuperATV has a variety of tires and wheels to match your riding style.
Electrical problems have a way of showing up at inconvenient times, so don’t wait until your Pioneer won’t start to check the battery.
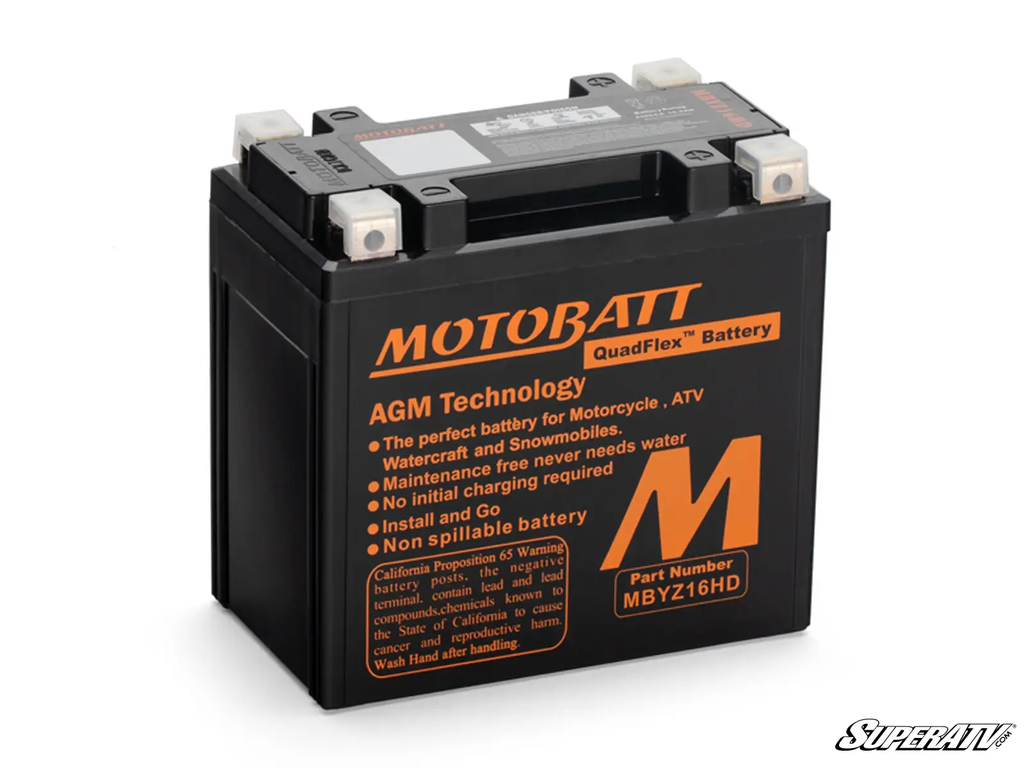
Inspect the battery terminals for corrosion and make sure the connections are secure. Check the battery’s condition and keep it properly charged, especially if the machine sits for extended periods.
It’s also worth checking your fuses, grounds, and visible wiring for damage. If you’ve added accessories like lights, a winch, a stereo, or other electrical equipment, give those connections a quick inspection as well. Added accessories can put more demand on the electrical system, making good connections and battery maintenance even more important.
If you’re in the market for a new battery, check SuperATV’s MotoBatt Battery.
Your Pioneer works hard, so your cooling system needs good airflow to keep up.
Check the coolant level and inspect the radiator, hoses, and clamps for leaks or damage. Then take a look at the radiator fins. Mud, grass, dirt, and other debris can quickly build up and restrict airflow. If the radiator is dirty, clean it carefully. Avoid blasting the fins with excessive pressure because bent fins can make it harder for air to move through the radiator.
This is very important after muddy rides or when you’re working the machine hard in hot conditions. Honda’s maintenance schedules include coolant inspections and account for operating conditions when determining certain service needs.
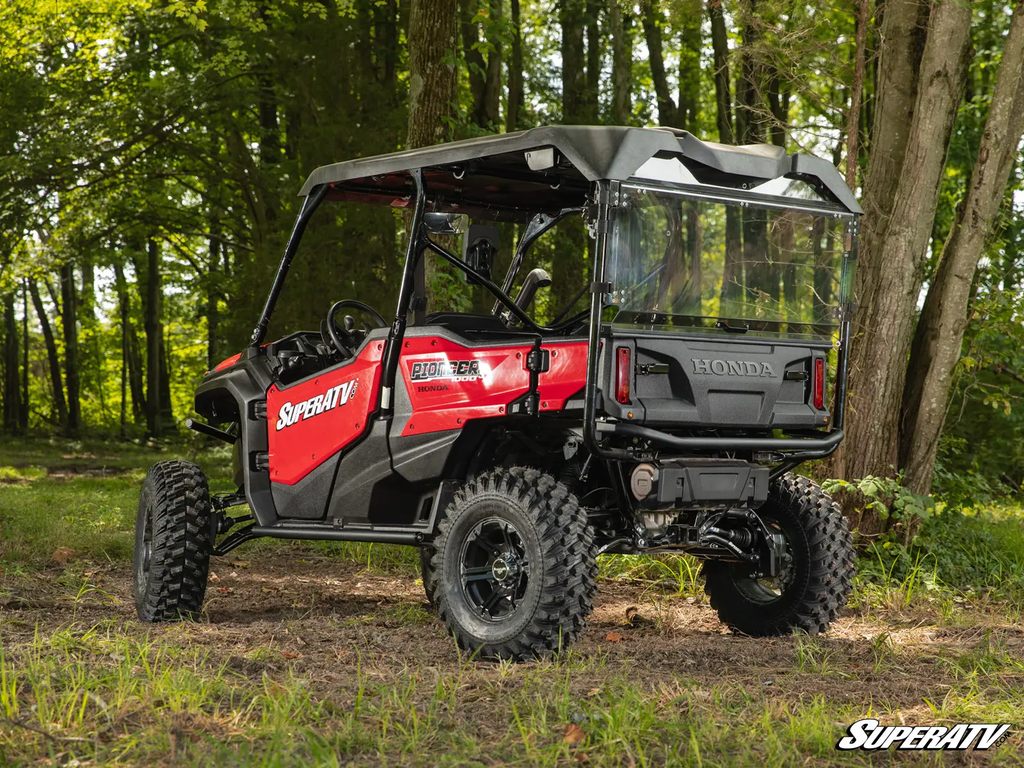
Check the CV boots for tears, cracks, or grease escaping from a damaged boot. Listen for clicking or unusual drivetrain noises that could point to a problem with your axle or CV joint.
Look over your driveshaft, undercarriage, and hardware for damage or anything that’s come loose. If you’ve hit a rock, log, or other large debris, give the underbody an especially close inspection.
Adding skid plates or upgraded axles can beef up your Honda Pioneer so that it can handle rough conditions and being pushed to the limit.
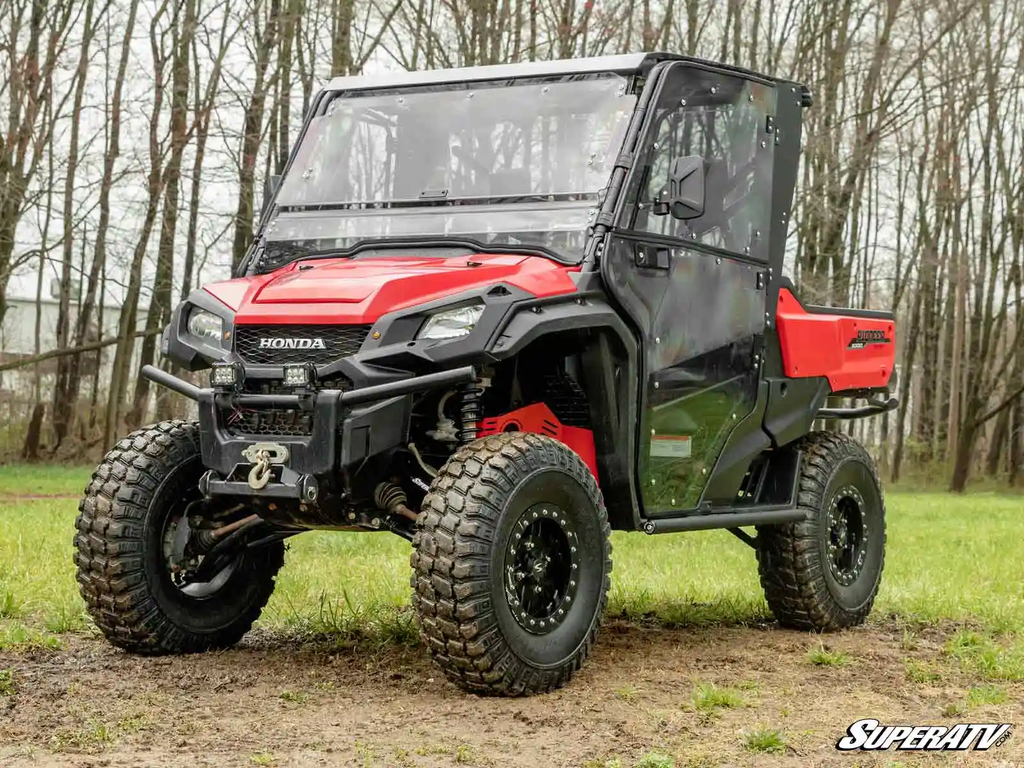
A hard ride can leave more behind than just mud on your machine.
After a dirty, wet, or rough ride, take a few minutes to look your Pioneer over. Wash off mud and debris, paying special attention to the radiator and underbody. Once it’s clean, inspect the air filter, CV boots, driveshafts, and other components that may have taken a beating. Look for leaks, loose hardware, new damage, or anything that wasn’t there before the ride.
If your Pioneer has grease points, lubricate them according to the owner’s manual. Never ignore new noises or changes in handling. Those can be early signs that something needs attention and you want to catch those before they become costly repairs.
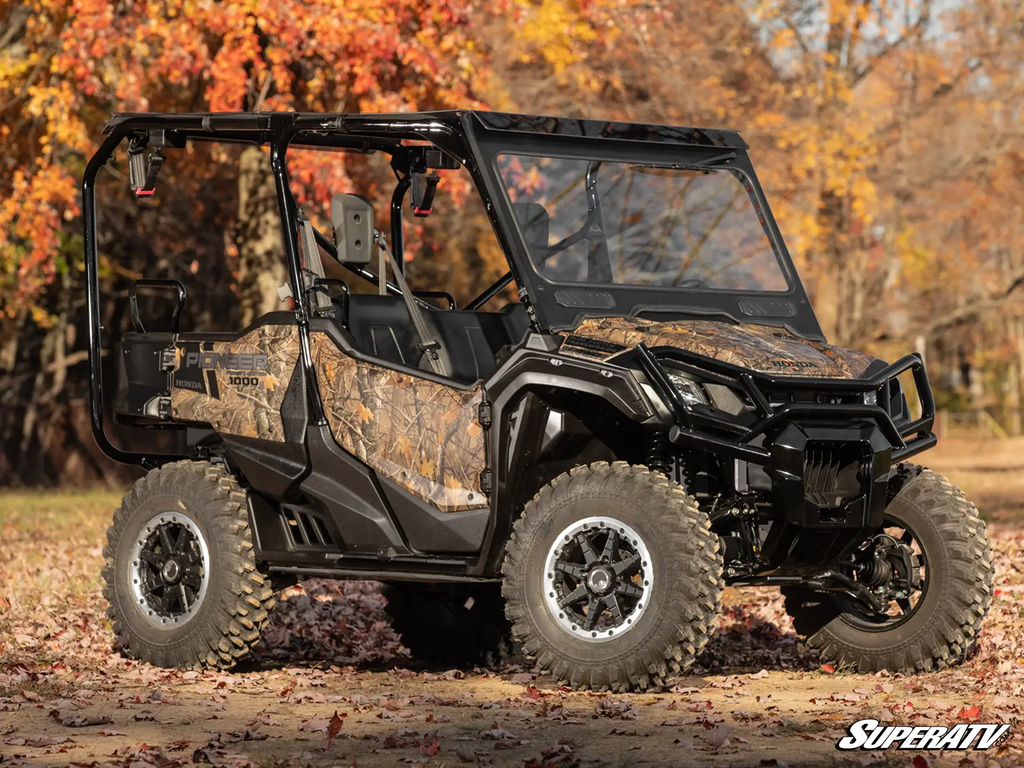
If your Pioneer is going to sit for an extended period, give it some attention before parking it.
Start by cleaning the machine thoroughly. Mud and moisture left sitting on components can cause problems while the machine is stored. If any fluids are due for service, take care of them before storage.
For extended storage, follow Honda’s recommendations for fuel stabilization and battery maintenance. Check your tires, lubricate applicable components, and always make sure to protect your Pioneer from moisture. A breathable cover is always a good thing to have because it can help keep dust and debris off the machine without trapping unnecessary moisture underneath it.
When you’re ready to ride again, don’t just turn the key and go. Give your machine another inspection first. Check the fluids, tires, battery, and visible components to make sure everything is ready to go.
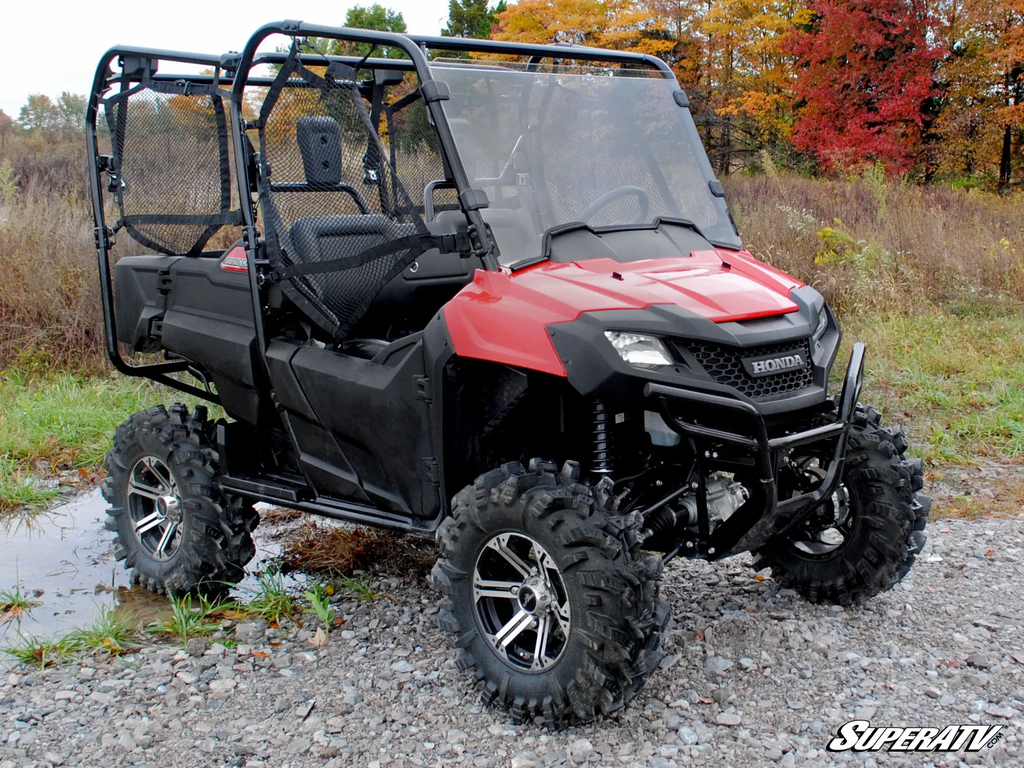
Keeping your Honda Pioneer in good shape isn’t about waiting for one big service day. It’s about staying consistent with the small stuff.
Check your fluids, look over your tires and brakes, keep dirt out of the airbox and radiator, and inspect the CV boots and undercarriage after rough rides. Also, follow the scheduled maintenance in your owner’s manual.
The exact requirements can change depending on your Pioneer model, year, hours, mileage, and riding conditions. Keep your specific Honda owner’s manual handy and use it as the authority for service intervals and procedures.
A little regular maintenance goes a long way toward keeping your Pioneer ready for the next job or ride.
From routine maintenance to performance upgrades, SuperATV has what you need to keep your Honda Pioneer ready for whatever comes next.
Disclaimer: This article was written by an employee of SuperATV. The views, opinions, and recommendations expressed in this blog are the writer’s own and do not necessarily reflect those of SuperATV. This content is provided for informational purposes only and is not intended as safety advice or official technical guidance. Modifying vehicles and using aftermarket parts can impact performance and safety. Readers are responsible for ensuring proper installation, compatibility, and safe operation. SuperATV makes no representations or warranties regarding the accuracy or completeness of this information and assumes no liability for any actions taken based on it.