When temperatures drop and frost starts to form on your windshield, a UTV cab heater becomes more than just a luxury—it’s a necessity. Whether you’re using your rig for work or for play, a cab heater is a must-have for every rider. Installing a cab heater turns a cold, uncomfortable ride into a warm and enjoyable experience.
In this guide, we’ll walk you through how to install a UTV cab heater using the SuperATV Cab Heater for the Polaris General as a reference. With the right tools and preparation, your winter riding will be taken to the next level.
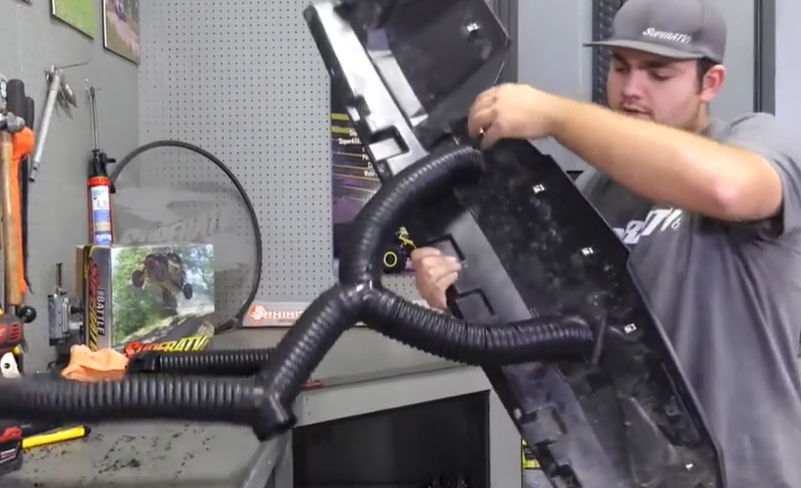
When temps drop and frost hits your windshield, a cab heater makes winter rides way more comfortable, and this guide shows you how to install it. Photo by SuperATV.
Why Adding a Cab Heater Transforms Your UTV Experience
installing a cab heater isn’t just about comfort—it’s about safety and year-round functionality. Here’s why it’s a smart upgrade:
Enhanced Visibility: A heater helps defrost and defog your windshield, giving you a clear view of the trail.
Cold-Weather Comfort: Stay warm while plowing snow, hunting, exploring frozen trails, and hauling gear for work.
Year-Round Utility: It’s erfect for winter work and late-season hunting trips. A cab heater extends your riding season.
SuperATV heaters are built to deliver maximum heat and minimal air intrusion. Plus, they’re easy to install.
Tools and Preparation for Installing a UTV Cab Heater
Before starting your UTV cab heater installation, make sure you have these tools on hand.
Drill
Hole saw
Socket set
Wrenches
Screwdrivers
Pliers
Utility knife
Coolant and drain pan
Funnel
Zip ties
You’ll also want to take these steps to prep.
Drain the coolant from your radiator.
Remove the dash and hood panels as outlined in your machine’s service manual.
Lay out the SuperATV heater kit and verify all the hardware is there.
Properly preparing helps you save time and prevent mistakes during the install.
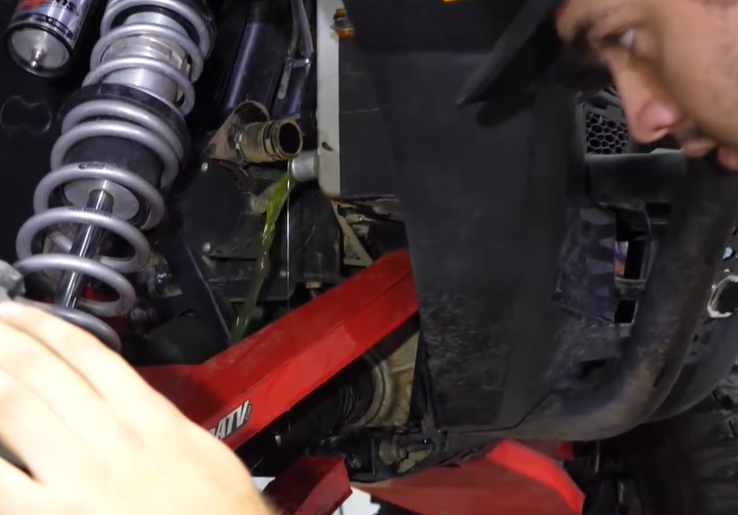
Disconnect your radiator hose to drain the coolant into your bucket.
Always make sure to bleed the radiator before you start your other steps. Photo by SuperATV.
2. Remove Panels and Access Key Areas
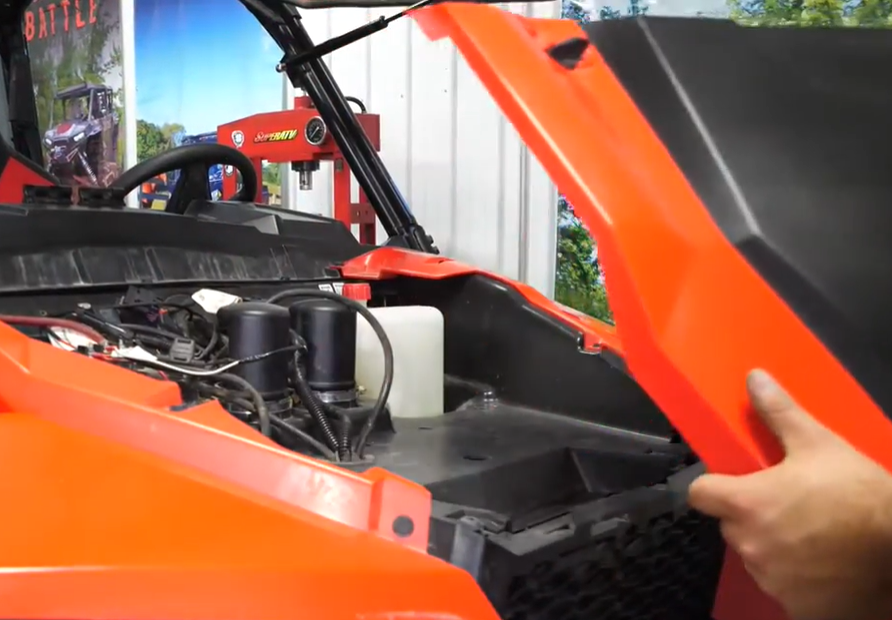
Remove the shipping plug, hood, dash panels, and any surrounding plastic to access the firewall, radiator hoses, and bus bar.
Keep all pushpins, screws, and clips organized for easier reassembly.
Take your time—rushing this part can lead to broken tabs or misplaced hardware.
Carefully remove the shipping plug, hood, dash panels, and surrounding plastic to access key components, keeping all hardware organized to avoid damage or confusion during reassembly. Photo by SuperATV.
3. Drill Firewall Holes and Install Grommets
Find the factory-indented drill points on the firewall (these are typically pre-marked by the manufacturer).
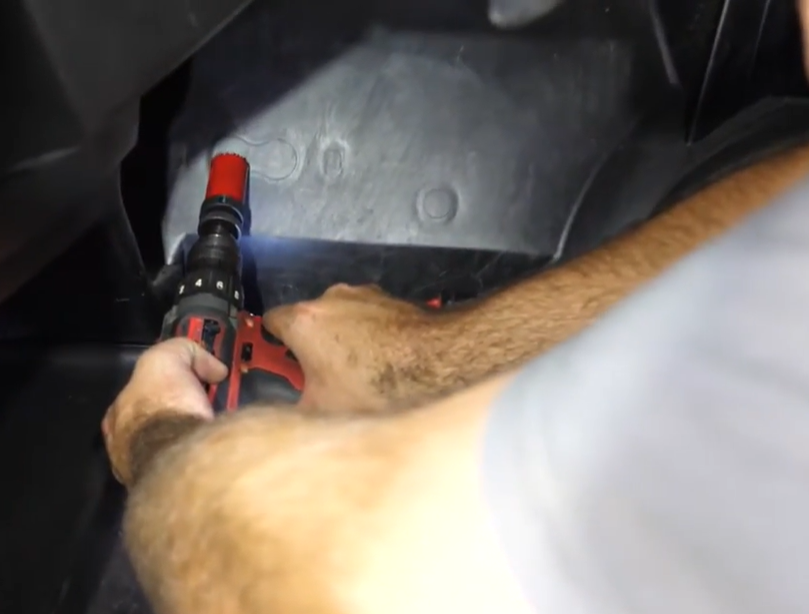
Use a hole saw to drill two clean holes for the heater hoses.
Install the provided rubber grommets to seal around the hoses and prevent wear or leaks.
Tip: Protect nearby wires and components with a metal backing plate or scrap wood while drilling.
Locate the factory-marked drill points on the firewall, drill two holes with a hole saw for the heater hoses, install the rubber grommets, and protect nearby components with a backing plate while drilling. Photo by SuperATV.
4. Prepare the Glove Box Area
Open the glove box.
Mark the locations for mounting holes on both sides, as indicated by the provided template.
Drill out the marked holes using a drill bit.
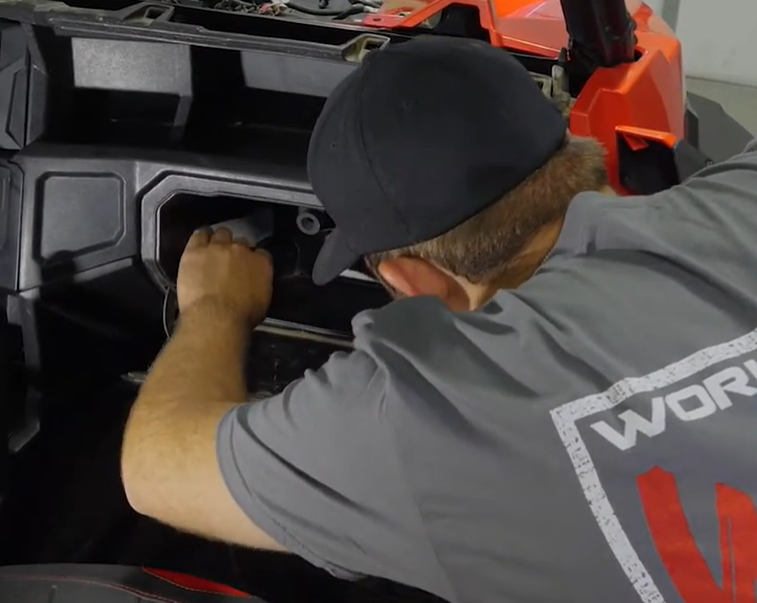
Open the glove box, mark the mounting hole locations using the template, and drill out the marked spots with a drill bit. Photo by SuperATV.
5. Prepare and Route Ducting
Your provided instructions will have the exact measurements you will need when preparing your ducting.
Locate the ducting in the hardware kit.
Cut a piece to the length specified for your model.
Route the ducting through the dash, directing it toward the passenger-side floorboard.
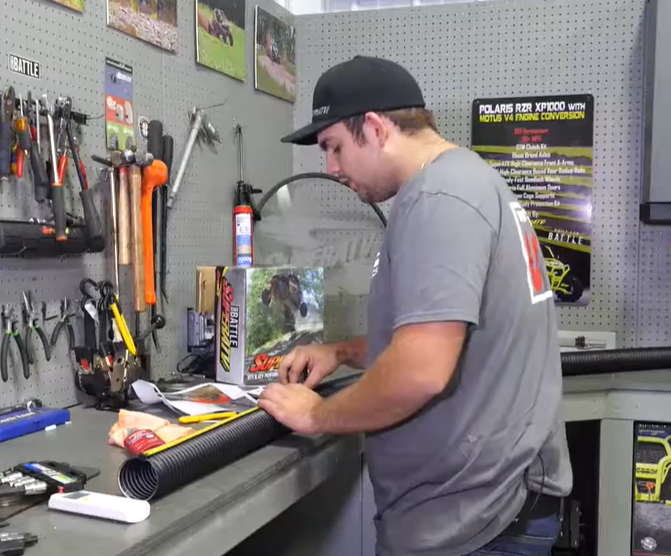
Use the measurements in your instructions to cut the ducting from the hardware kit, then route it through the dash toward the passenger-side floorboard. Photo by SuperATV.
6. Assemble the Heater Components
Gather the following hardware:
Heater
Heater bracket
Elbow
Elbow bracket
Screws
Slide the heater into the heater bracket.
Attach the elbow to the heater using the provided screws.
Secure the elbow bracket to the elbow and fasten it in place.
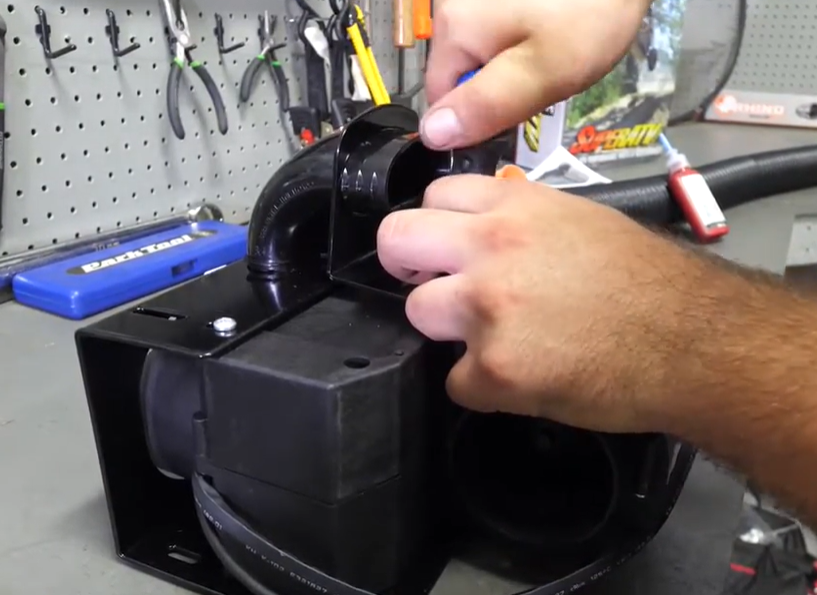
Get the heater, heater bracket, elbow, elbow bracket, and screws. Then slide the heater into the bracket, attach the elbow with the screws, and secure the elbow bracket in place. Photo by SuperATV.
7. Install Mounting Brackets
Find the left and right top brackets for the heater.
Attach them to the top of the heater bracket and ensure the angled sides face toward the rear.
Use the supplied bolts to fasten them.
Tip: Position the brackets slightly toward the back to ensure the heater controls are accessible. You may need to make small adjustments during final installation.
Attach the left and right top brackets to the heater bracket with the angled sides facing the rear, using the supplied bolts and positioning them slightly back to keep the heater controls accessible. Photo by SuperATV.
8. Connect Heater Hoses
Cut the supplied hose to the specified length.
Slide the hose onto the fitting on the heater and tighten securely.
Install the remaining hoses and elbows from the hardware kit as shown in the instructions.
Cut the supplied hose to the specified length, attach it to the heater fitting and tighten it, then install the remaining hoses and elbows as outlined in the instructions. Photo by SuperATV.
9. Wire the Power Source
At the busbar (for the Polaris General), connect the “keyed-on” power wire to the far-left post (when facing the center post).
From inside the cab, run the wires down and plug the harness into the heater.
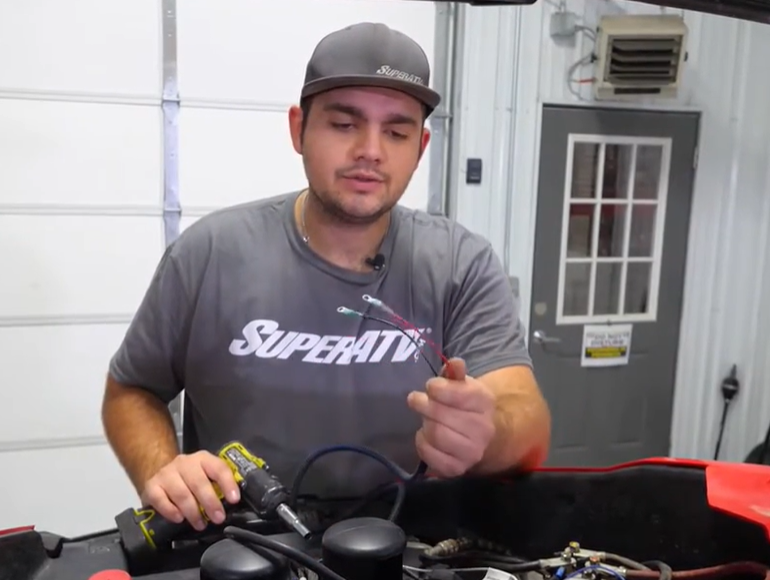
At the Polaris General busbar, connect the “keyed-on” power wire to the far-left post, then run the wires inside the cab and plug the harness into the heater. Photo by SuperATV.
10. Mount the Heater Assembly
Align the heater with the holes drilled in the glove box.
Secure the heater in place using the provided hardware.
Locate the wiring harness at the bottom of the heater and zip-tie any excess wiring out of the way.
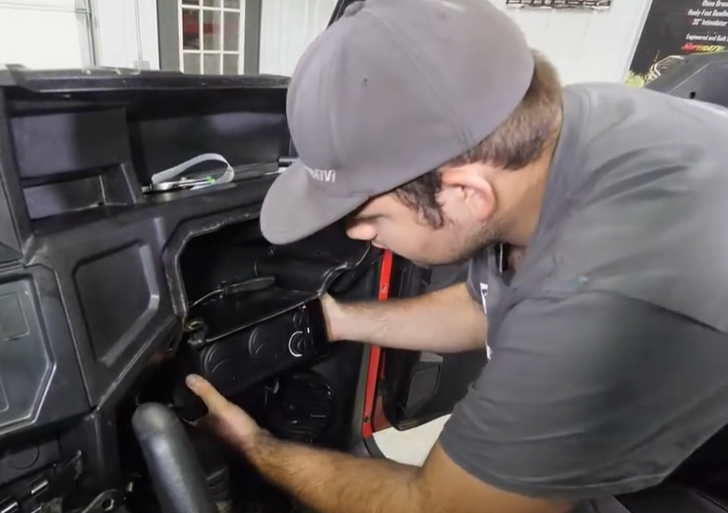
Align the heater with the glove box holes, secure it using the provided hardware, and zip-tie any excess wiring from the harness out of the way. Photo by SuperATV.
11. Connect Defrost Ducting
Take the hose previously installed on the elbows.
Connect it to the rear of the defrost elbow using the ducting.
Route it toward the top of the dash, as specified in your instructions.
Secure it in place with zip ties.
Connect the hose on the elbows to the rear of the defrost elbow using the ducting. Then route it toward the top of the dash as instructed, and secure it with zip ties. Photo by SuperATV.
12. Install Upper Dash Vents
Cut additional ducting to the lengths provided in your instructions.
Using a hole saw, drill holes in the upper dash where marked (typically in the center sections).
Install the dash vents into these holes.
Connect hoses to the Y-fittings, then zip-tie them in place.
Attach the hoses to the vents and secure with zip ties.
Cut ducting to the specified lengths, drill holes in the upper dash for the vents, install the vents, connect hoses to the Y-fittings and vents, then secure everything with zip ties. Photo by SuperATV.
13. Install Lower Dash Vent
Use the hole saw to drill a hole below the key switch. (You’ll see an indented area in the plastic for reference.)
Insert the final vent into this hole.
Drill a hole below the key switch using the indented area as a guide, then insert the final vent into the hole. Photo by SuperATV.
14. Connect to Radiator Lines
Following the provided instructions, cut the radiator hoses as directed.
Install the fittings into the cut radiator hose using hose clamps.
Take the leftover hose and route it through the firewall grommet.
Trim any excess hose to fit, then connect it to the adapter.
Cut the radiator hoses as instructed, install the fittings with hose clamps, route the leftover hose through the firewall grommet, trim any excess, and connect it to the adapter. Photo by SuperATV.
15. Final Check
Ensure all connections are tight and secure.
Confirm all hoses are properly routed and zip-tied out of the way.
Test the heater function before finalizing your installation.
Make sure all connections are tight and the hoses are properly routed and secured with zip ties. Then test the heater before finishing the installation. Photo by SuperATV.
Stay Comfortable and Ride Longer with a Cab Heater
With your new SuperATV cab heater installed, you’re ready to ride in comfort—no matter how cold it gets. Whether you’re plowing snow at sunrise or exploring frozen trails, your cab stays warm, clear, and cozy.
Are you looking to upgrade your ride? Check out our line of UTV Cab Heaters built for work and play in any weather.