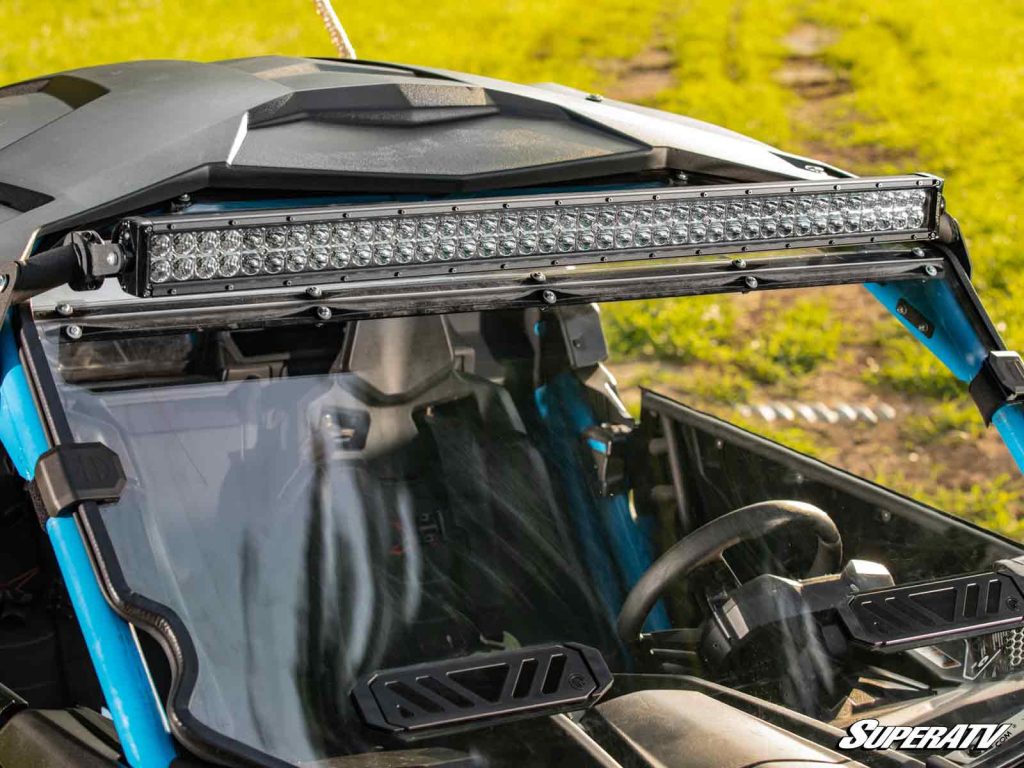
Installing a UTV light bar can transform the way you ride. With a decent light bar, you can ride any time—day or night—with a clear view of the trail ahead.
Good visibility is key for any ride. A light bar helps illuminate dark trails, improves your experience on night rides, and makes every turn a little bit safer. Whether you’re dodging branches on tight wooded trails or navigating open dunes, better lighting gives you the confidence to ride longer and safer.
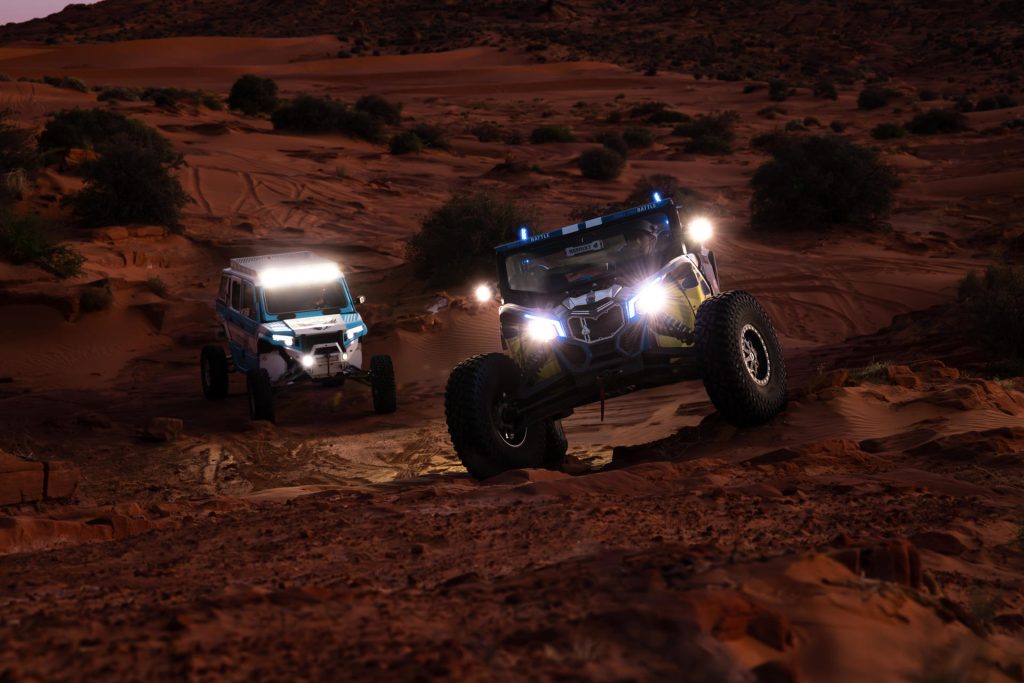
There are a ton of choices out there when you’re shopping for light bars. You’ll find single- and dual-row options and lengths from 12 inches up to 50!
Picking a light bar can be a real challenge if you don’t know what you need. Here are a few key things to keep in mind during your search.
Before you choose a light bar, make sure you know where you’re planning to mount it—above or below the windshield, on the bumper, or somewhere else.
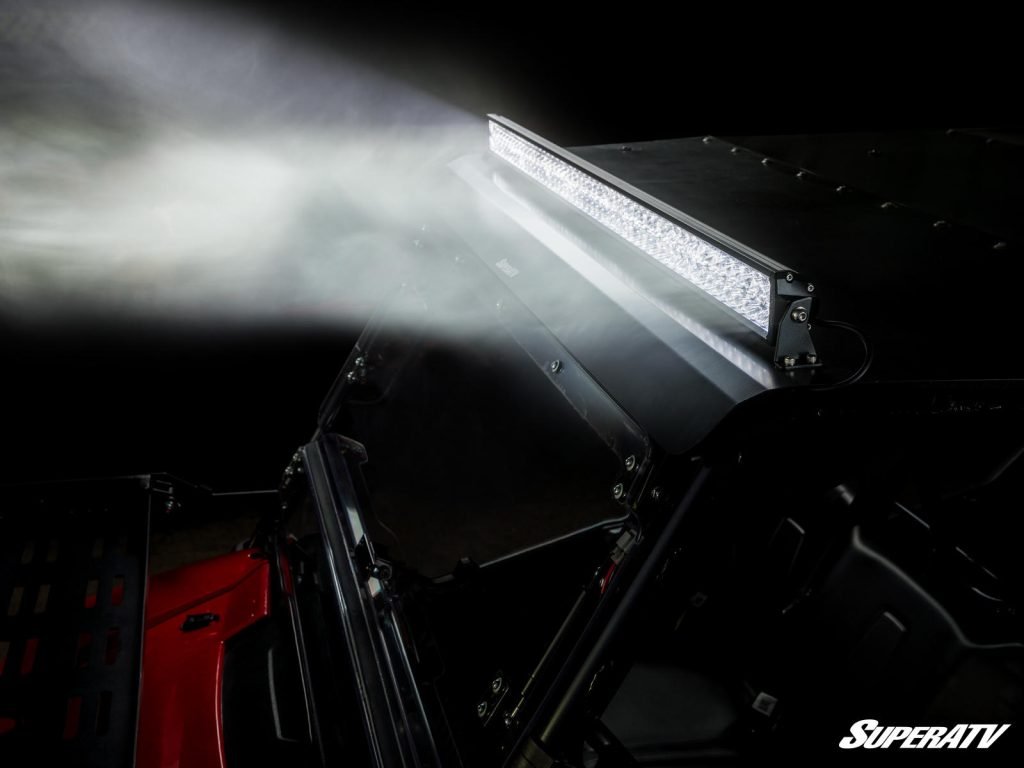
Mounting a light bar above the windshield on the roof, roll cage, or roof rack gives you a few advantages.
You can fit enormous light bars across the roof of your machine. Bigger light bars provide a longer and wider field of light, offering excellent visibility further down the trail. And thanks to their height, roof-mounted light bars illuminate obstacles well before you reach them.
However, giant roof-mounted light bars can cost a pretty penny. If this is the look you want and the light you need, it’s worth the investment.
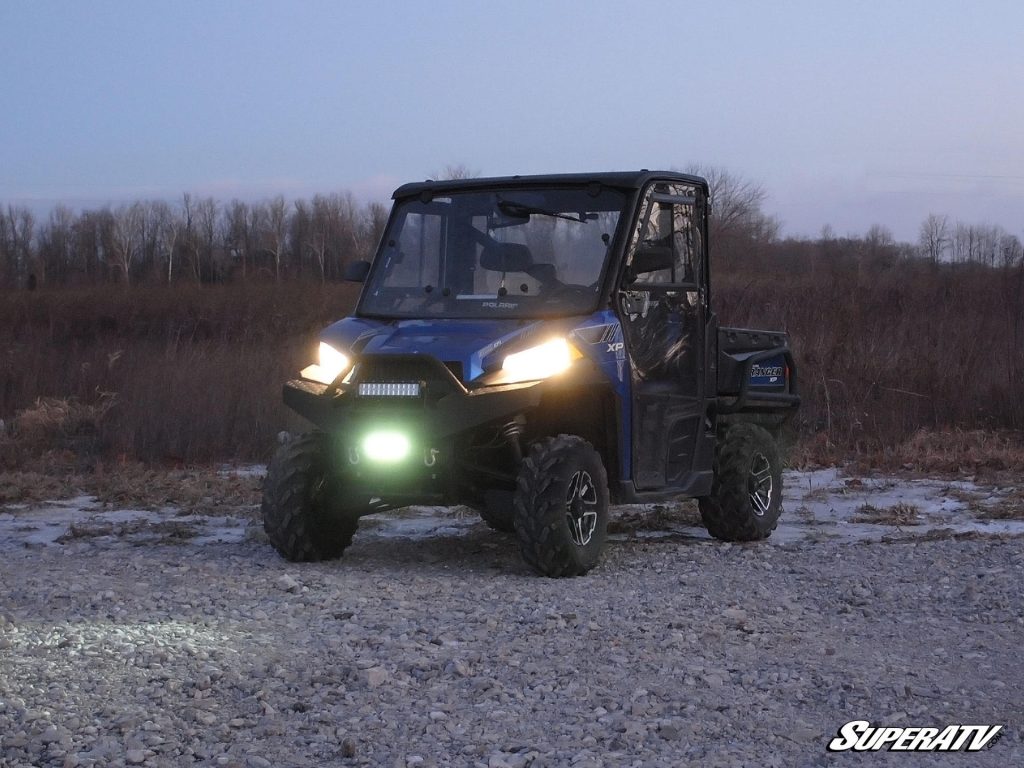
If you need better illumination closer to the front of your machine, consider a bumper- or hood-mounted light bar. These are usually smaller, more affordable, and great for lighting up technical terrain.
Their low profile makes them ideal for riders who need more visibility directly in front of their UTV. If you’re frequently rock crawling or tackling tight, twisty trails, these mounting positions provide better lighting.
And no one said you couldn’t do both.
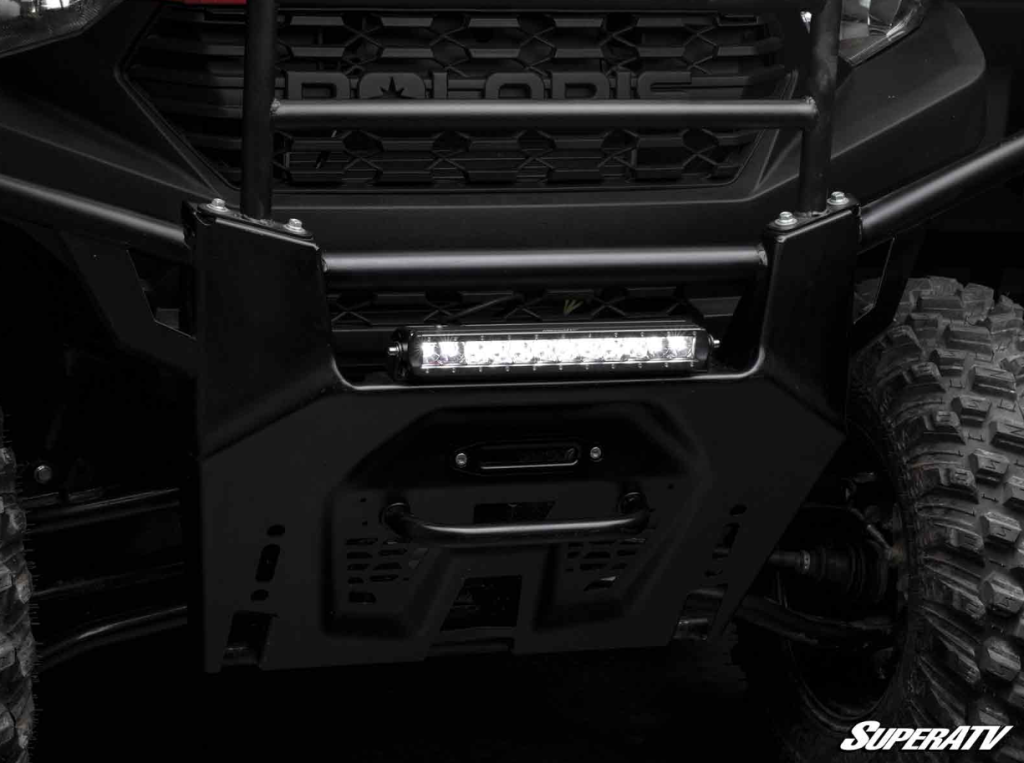
Single-row light bars have just one strip of LED bulbs, making them more compact and easier to mount in tight spaces. They’re perfect for minimalistic builds or when space is limited.
Despite their smaller footprint, single-row bars still pack a punch in terms of brightness, especially if you’re using a high-quality option like SuperATV’s 12” Single-Row LED Light Bar.
They also tend to be more budget-friendly—great news if you’re looking to upgrade without breaking the bank.
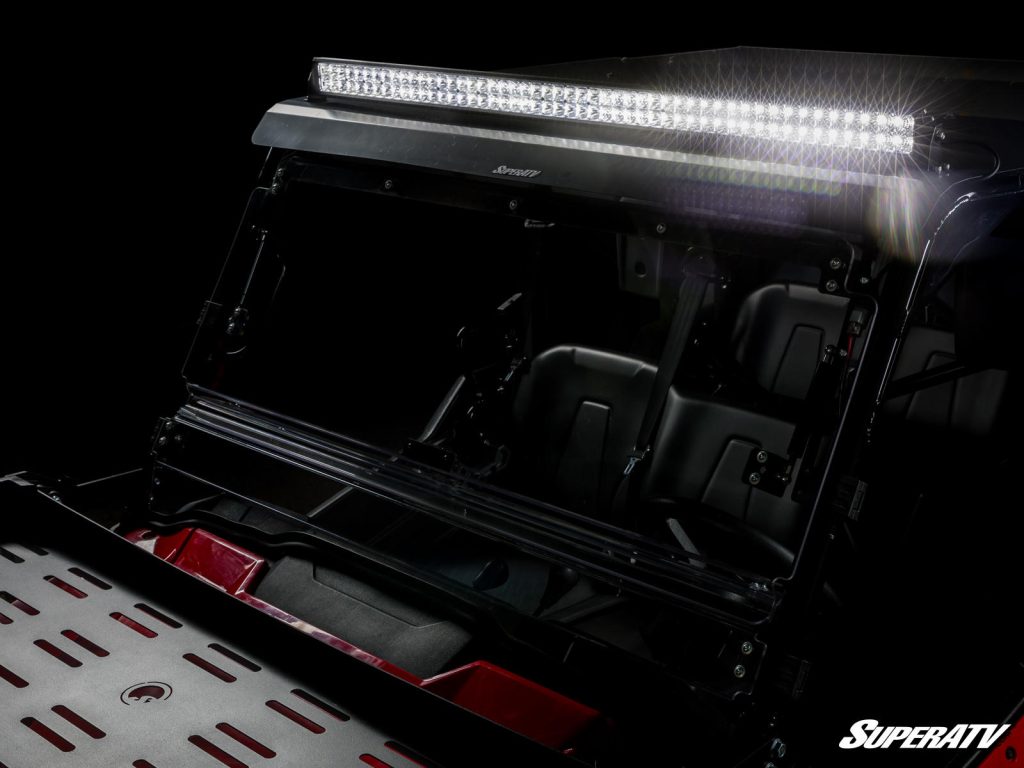
Dual-row light bars have two stacked rows of LEDs. This gives you more light output and often a broader beam pattern. If you’re looking to light up a wide trail or large open area, dual-row is the way to go.
They’re great for large UTVs or riders who do a lot of high-speed nighttime riding.
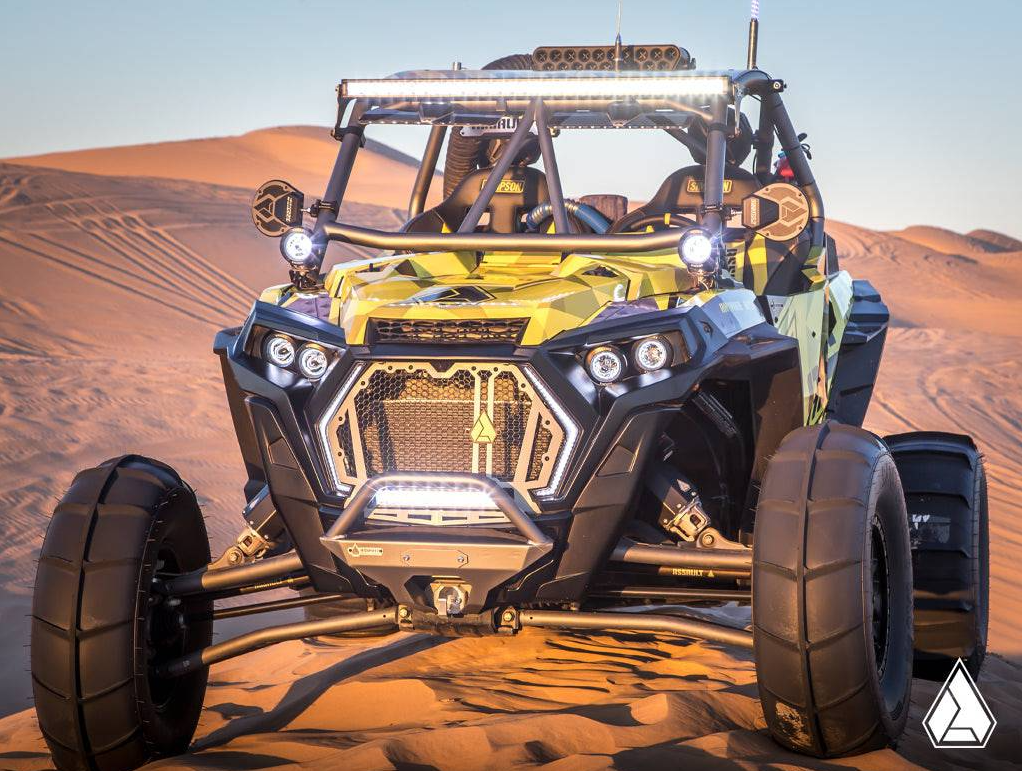
Light bars come in many sizes—12″, 30″, 50″, and everything in between. Smaller light bars like the 12” single-row are perfect for bumpers or hoods, while 30” to 50” bars are ideal for roof mounts.
When in doubt, check your UTV’s available mounting space and match the size accordingly.
Before you begin your UTV light bar installation, gather the following tools and materials:
Need mounting brackets or accessories? Explore UTV mounting solutions at SuperATV.
This guide is based on a 12” single-row LED light bar installation on a Can-Am Maverick X3. For a visual walkthrough, check out the video above!
Start by selecting your mounting location—roof, bumper, or roll cage.
Once the prep work is done, it’s time to mount your light bar.
Tip: Align your beam slightly downward to avoid blinding oncoming riders and get better visibility on the trail directly in front of you.
Wiring is one of the most important parts of a light bar install. If you don’t do it correctly, your light may not work—or worse, you could damage your UTV’s electrical system.
With everything connected:
Tip: Take your UTV for a short night ride and make final adjustments on the trail for best real-world results.
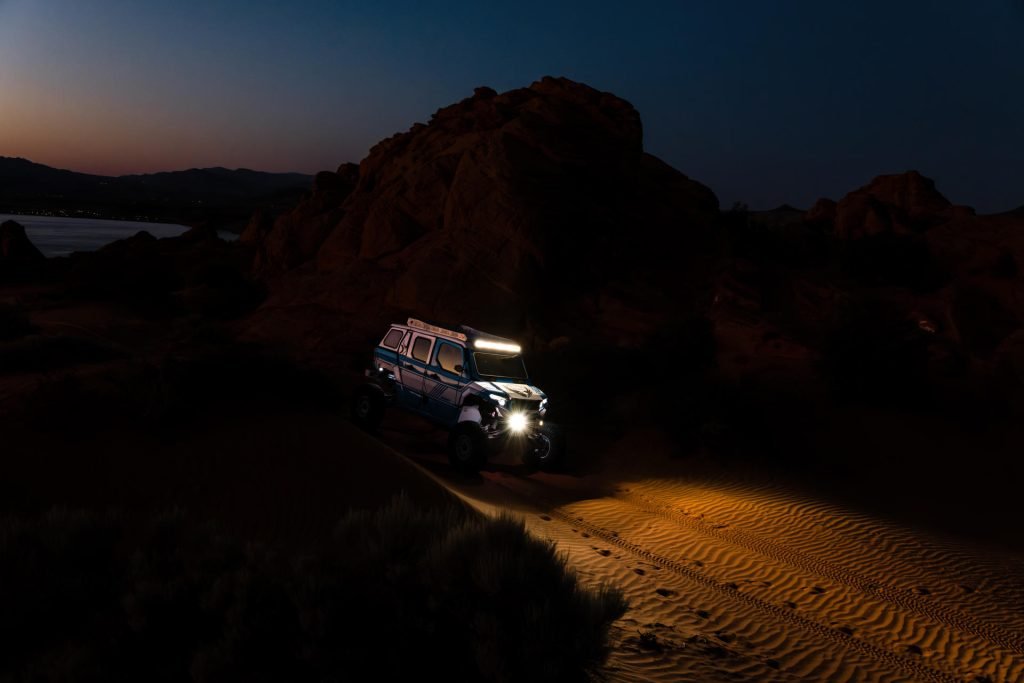
Installing a light bar on your UTV is a straightforward upgrade that offers massive benefits. Whether you’re chasing sunsets or hitting the trails after dark, a well-installed light bar will keep you safer and let you explore longer.
Looking for more lighting options? SuperATV has a full lineup of UTV lights and light bars for every machine, terrain, and budget.

